Be yourself; Everyone else is already taken.
— Oscar Wilde.
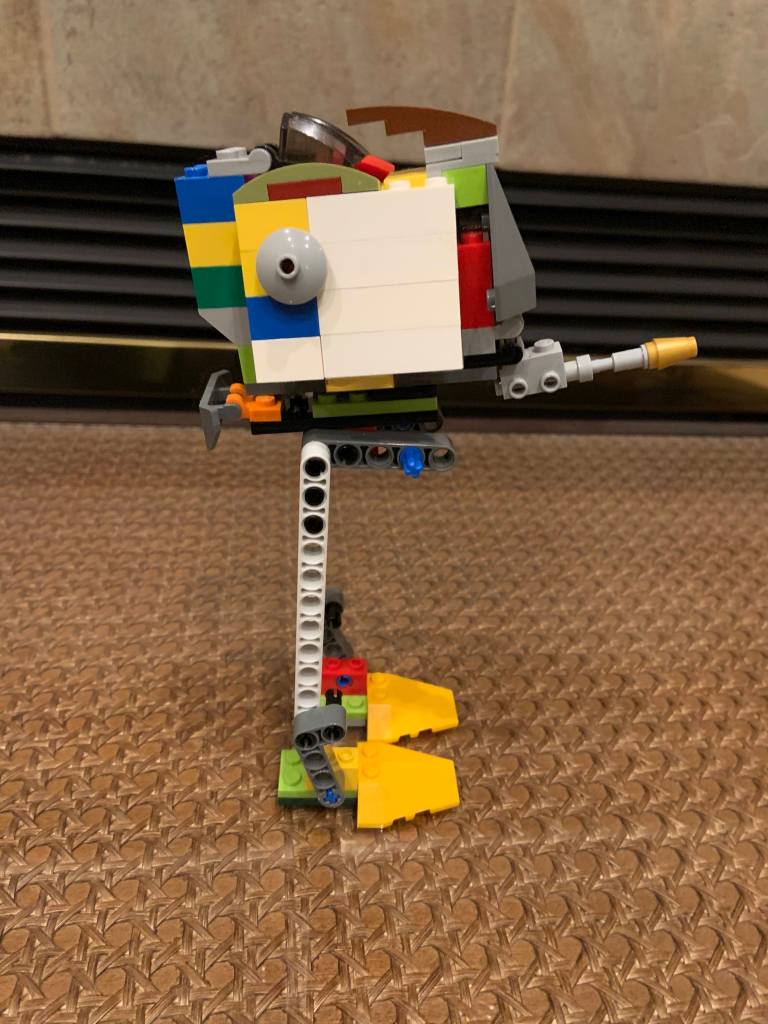
Lego Iron Man Suit Up
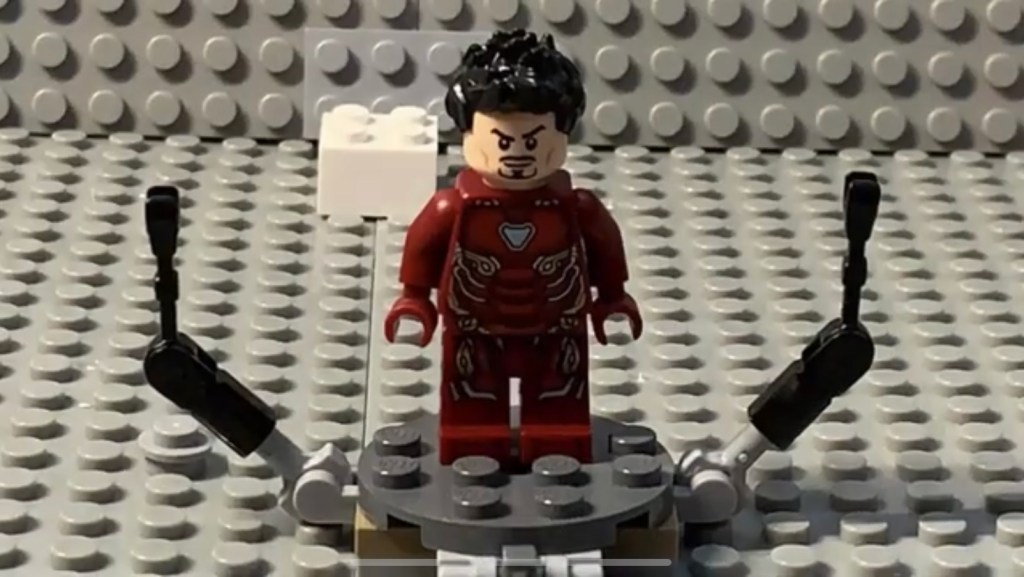
Hey everyone I know I haven’t posted in a while. I’ve been posting stop motions and animations on my YouTube channel. My most popular video so far is a Lego Iron Man suit up stop motion. Please check it out. Thanks 🙂
Here is the link to that video – https://www.youtube.com/watch?v=_UzqoYjJb8A&ab_channel=DarthDroidus
NEW VIDEO!!!
Hi everyone new video out on my YouTube channel check it out here
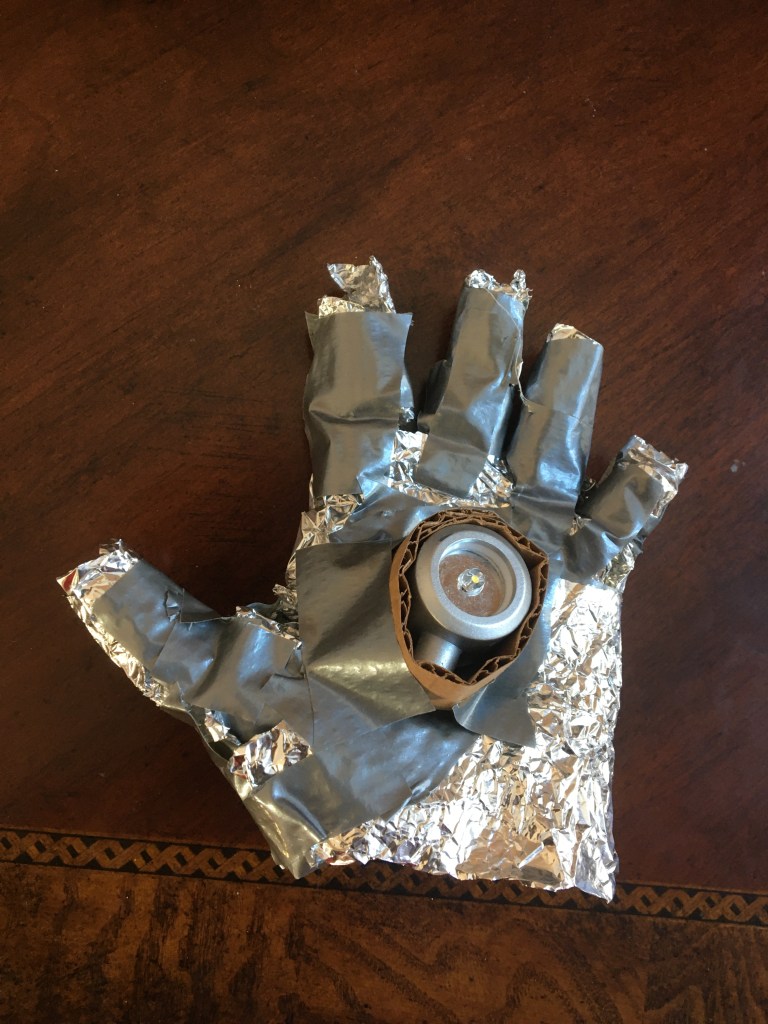
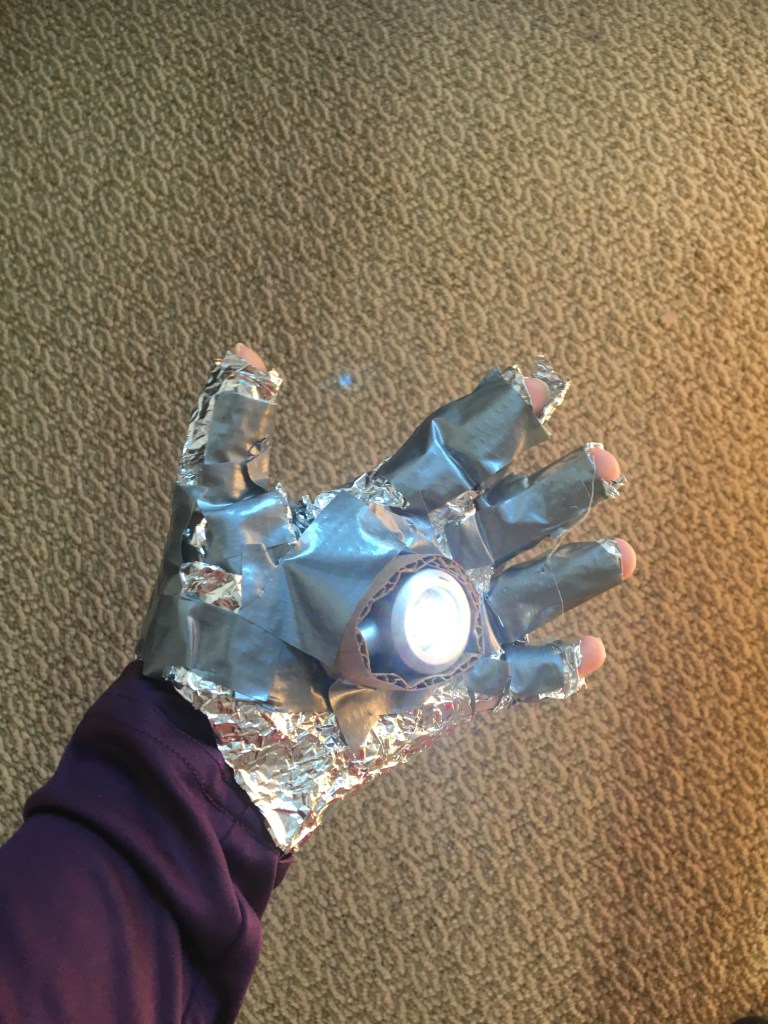
Iron Man Repulsor Glove
Hello everyone! I’m back! I have been gone for a while now as I have been very busy with other things. My YouTube channel has taken most of that time. I now have over 100 subscribers! If you want to subscribe here is the link. I mostly post LEGO stop motions! Alright now focusing on the main object of this post. I have been making and inventing things since I was 4. I have built things like a shirt made from a Chipotle bag to a complete suit of armor with a sword from cardboard! There was a cardboard Captain America shield made with a strap to put on your hand just like Captain America! I made a basketball hoop and Thanos Gauntlet. I made Thanos hammer and the many variations of the classic lightsaber each one better than the one before with lights and sounds. The lightsaber era was very fun. I enjoyed working on the lightsabers trying to improve the latest one. There are probably over 500 inventions I have made during my years. But now I have been working on a very important invention. A full Iron Man suit. Creating an Iron Man suit would be cool. I want to build a suit of bullet proof armor with rocket boots and laser blasting hands, futuristic weapons and a butler-like-speaking conscious in your head calling you “Boss” every time you want to activate a villain busting weapon. So in my quest to finish this work of art. I have started simple.
The laser hand. Or the repulsor. So I have made an Iron Man repulsor in the past but it was too simple. I simply took a red winter glove and attached a small reading lamp to the bottom and extended the light to the center in the palm of the glove. But that was too simple. And it looked really artificial and quite frankly wasn’t cool. I mean Iron Man doesn’t have a visible reading lamp attached to his hand. I only used two parts for that. So I wanted to improve it and make it look realistic. So I completely destroyed that version. I took the reading lamp only though. Since I could not find any other light the reading lamp was the best option. It was a reading lamp with a clip on the bottom and a flexible noodle thing that could move the light anywhere. The light was circular and had a metal ring around it. That circle light looked perfect for the middle light repulsor in an Iron Man glove. Just like in the movies. But I only needed the circle part alone. I didn’t need the noodle thing or the clip. Or else that would look artificial. So I had to mod and cut the noodle carefully from the circle light. Now I can easily on and off the light by pressing a button on the back. But when I put that on the glove, I won’t be able to turn the light on. Because the button will be facing the palm and the main light will be at the front. But that’s an easy fix. It’s just a matter of switching on the light differently. No modding or adding any other extensions. Just I have to press the front of the light so the button presses against the palm so it turns on easily. Now the palm I have been talking about isn’t my fleshy human palm. I’m talking about the metallic cool glove. Now this glove took a long time to make. It isn’t just like that winter glove no not at all. I used tin foil to get that metal look and I made a whole glove out of it. I had to attach each individual tin foil finger I made to the main base of the hand. The process of making the hand and fingers took 2 hours! I made many variations and changes until it was perfect. My hand slid in perfectly into the glove. I now attached the circle light (which I wrapped a strip of cardboard around to make it look a little wider so It doesn’t look so scrawny and insignificant to the width and size of the tin foil glove) to the glove and I had a fully operation Iron Man repulsor glove. With the iconic light in the middle. It was perfect. It looked exactly like the ones in the movies. My step one of the Iron Man suit was complete!
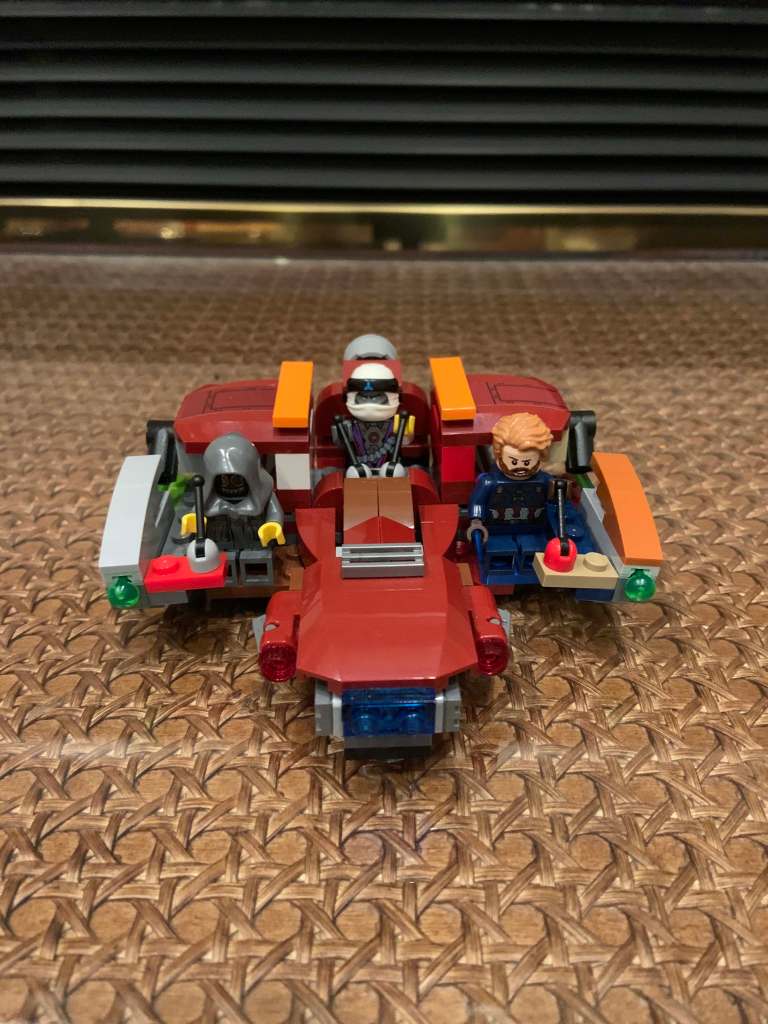
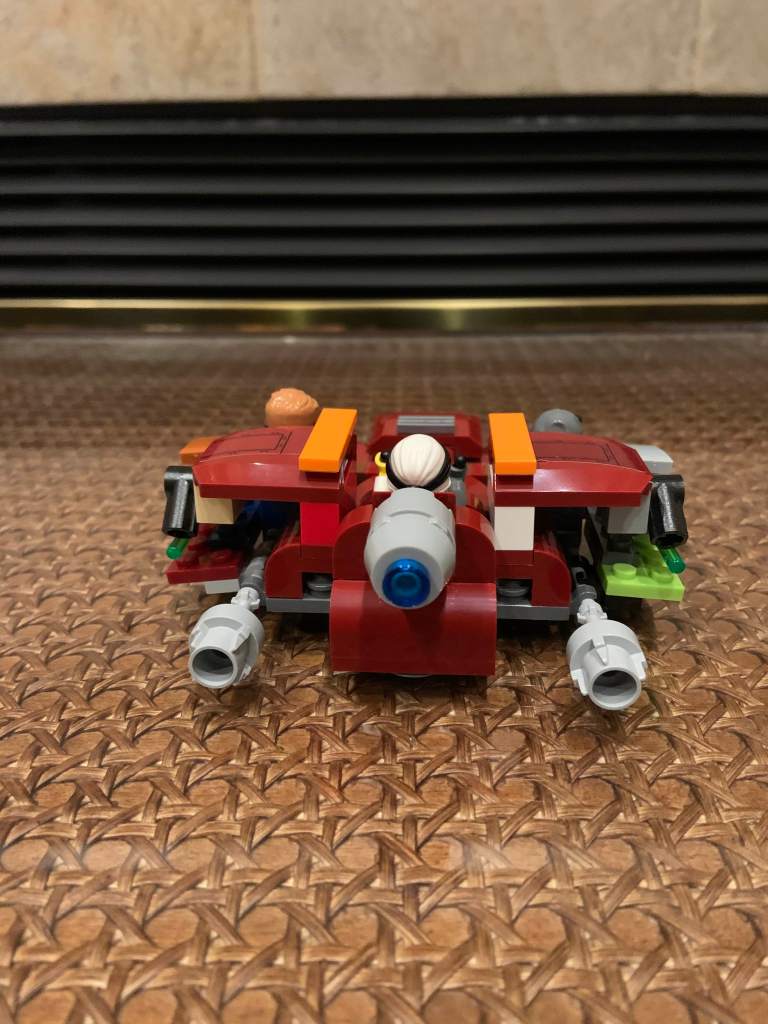
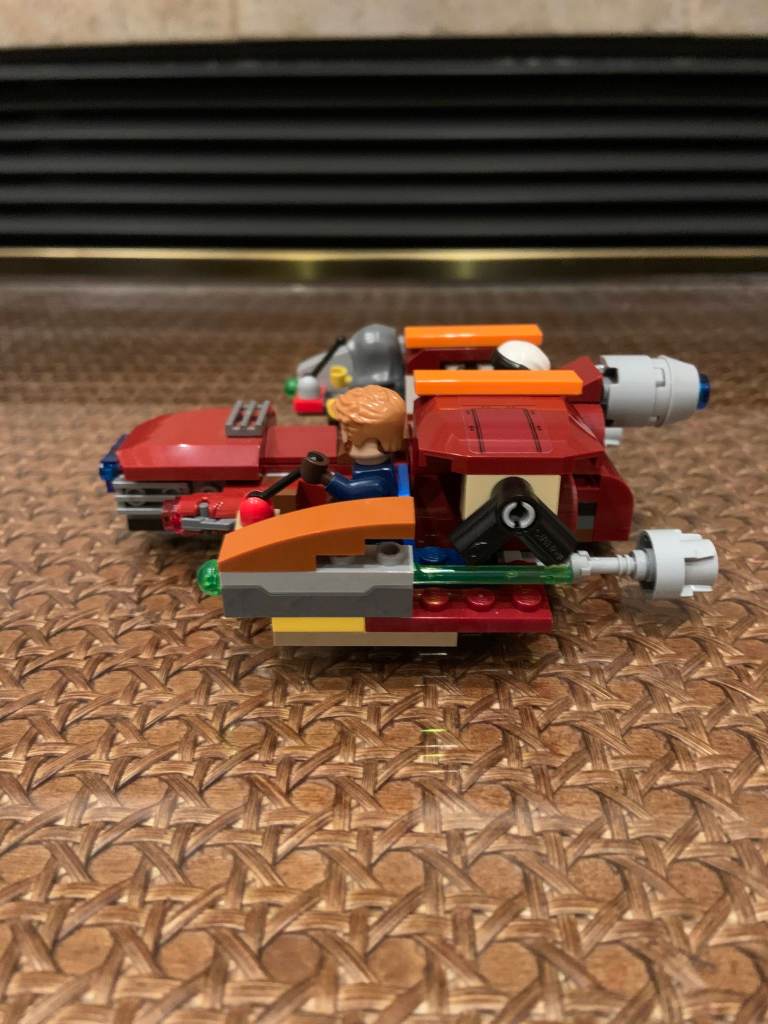
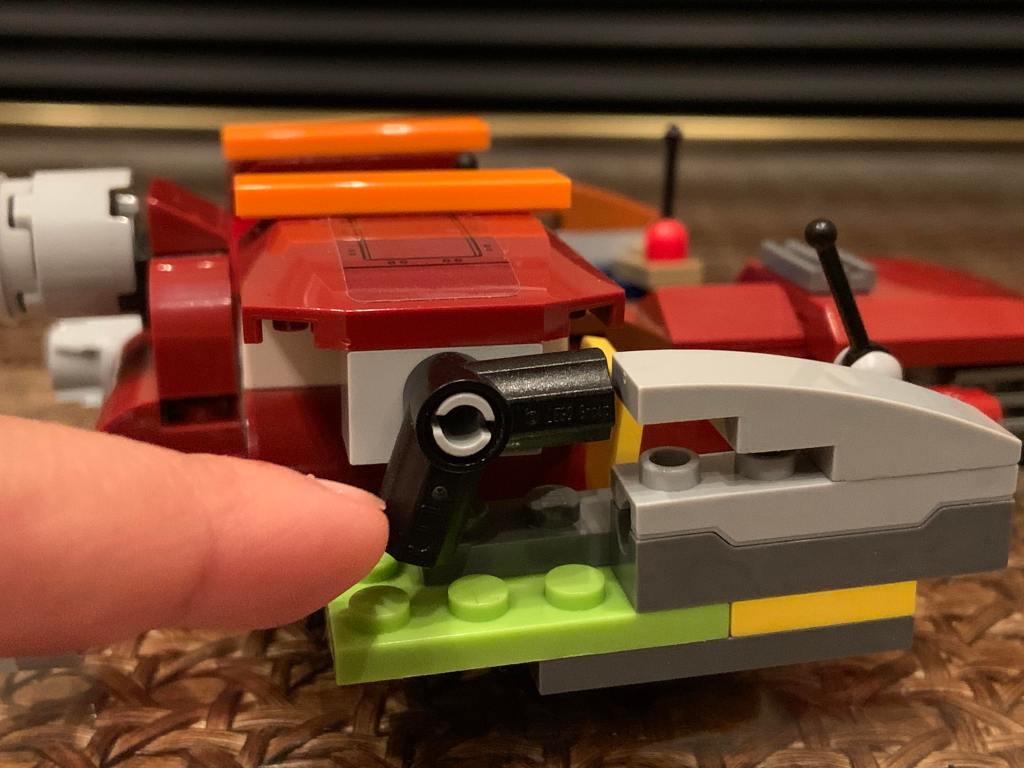
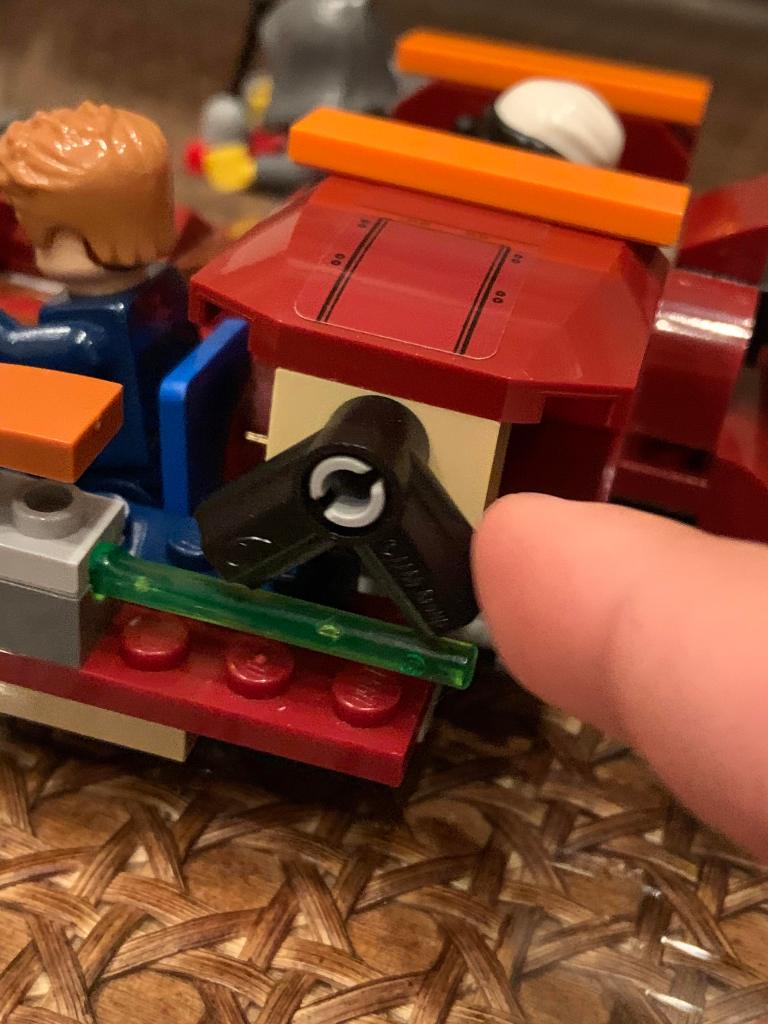
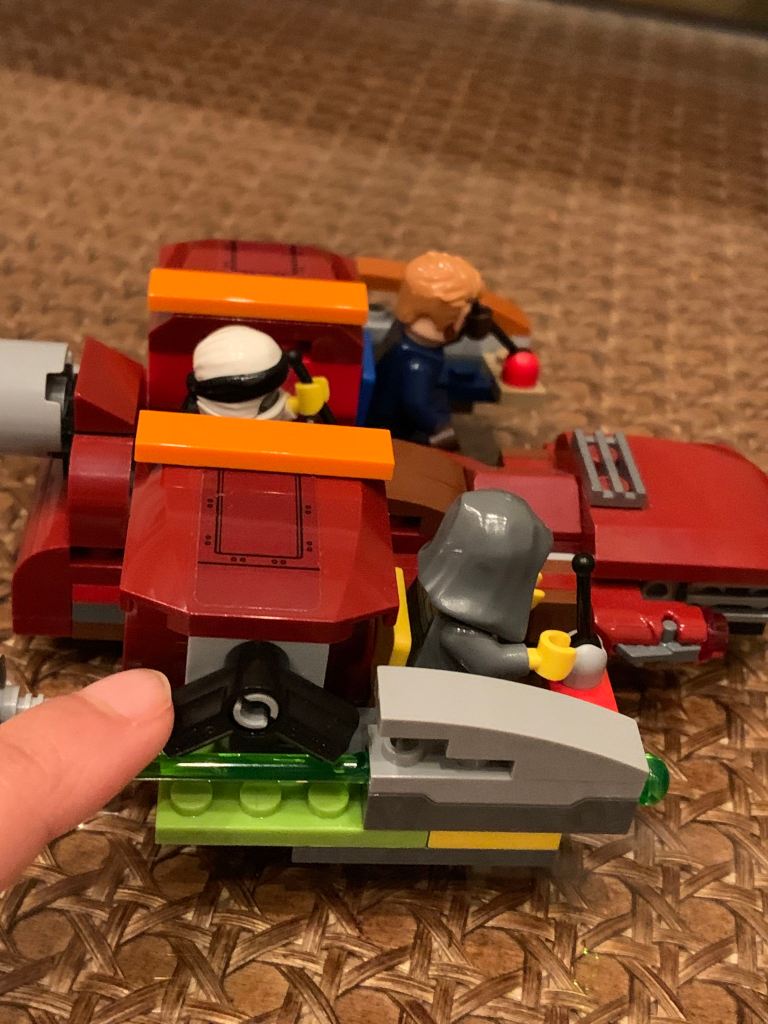
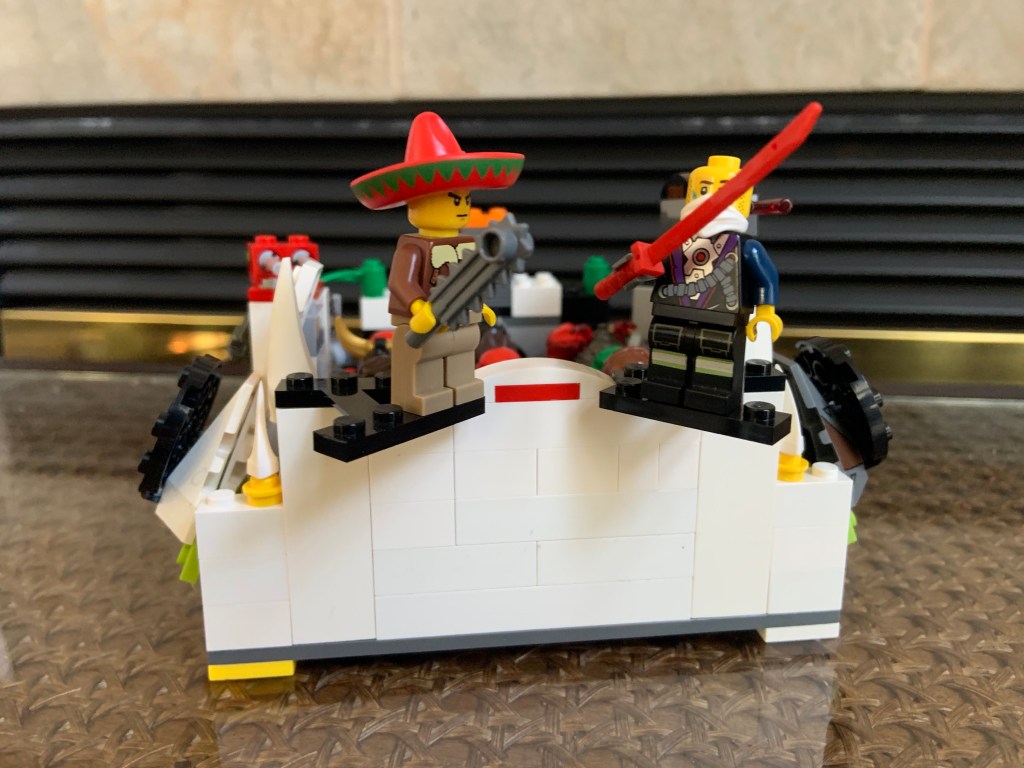
LEGO Triple-Pod Combat Speeder MOC
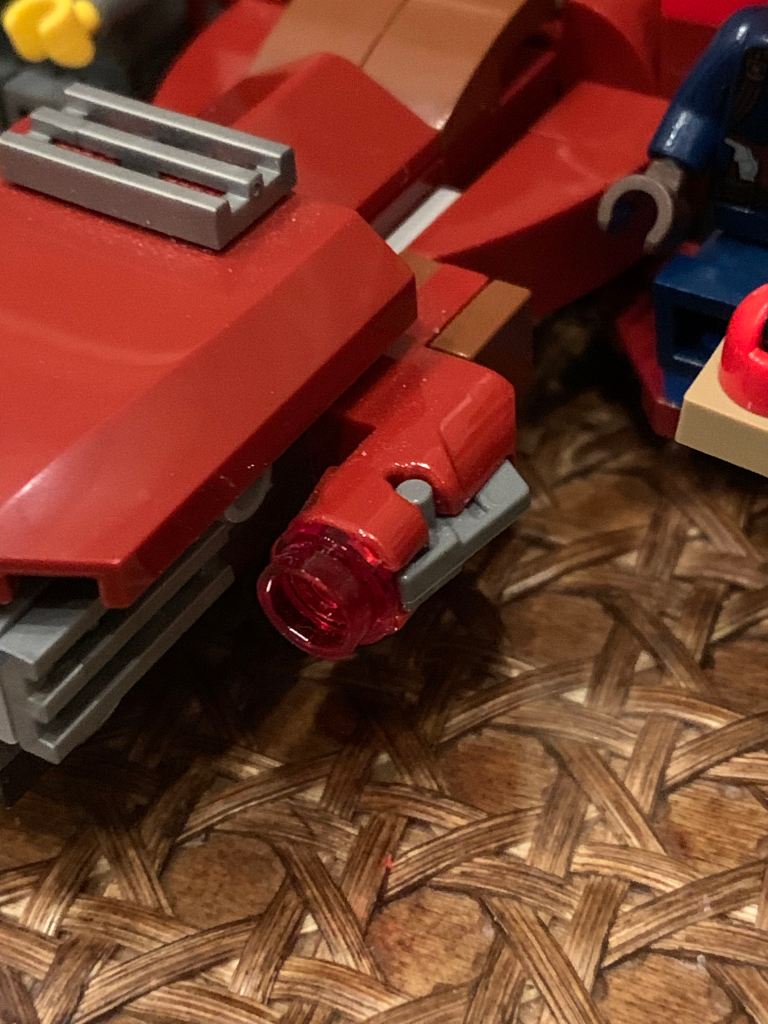
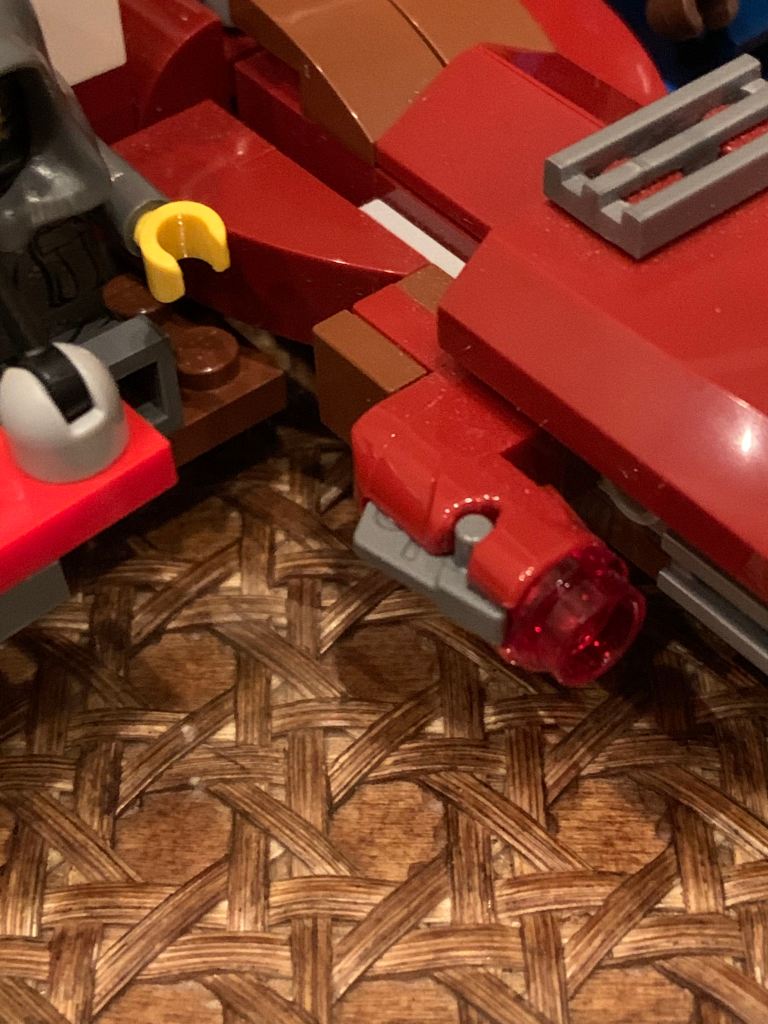
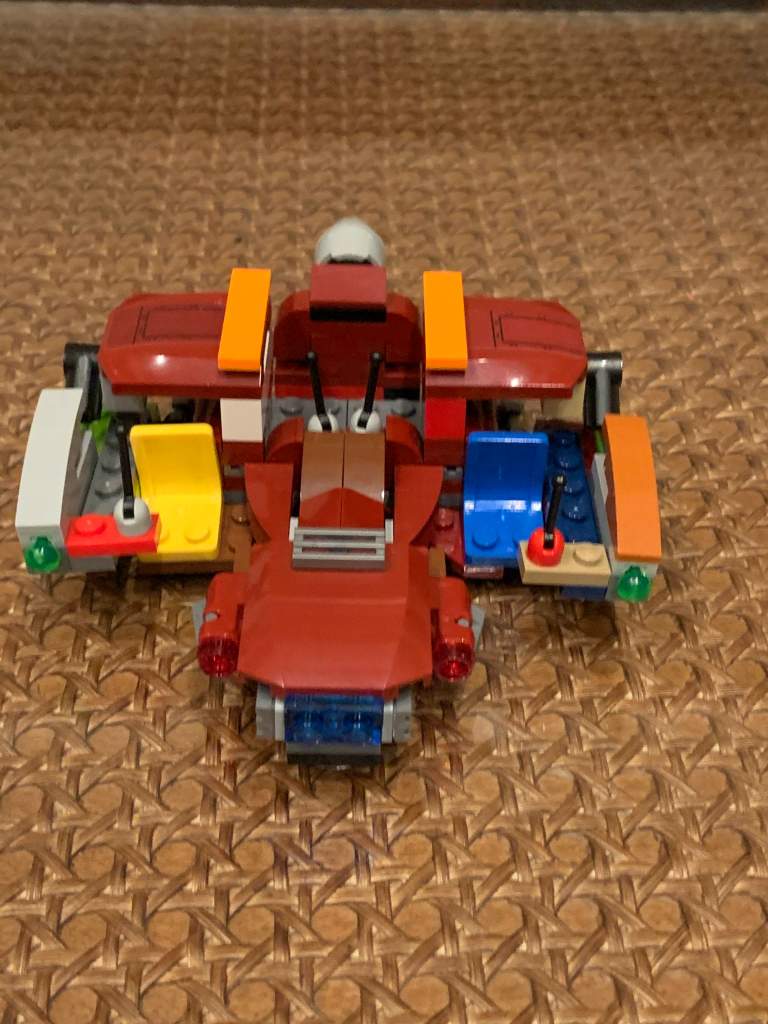
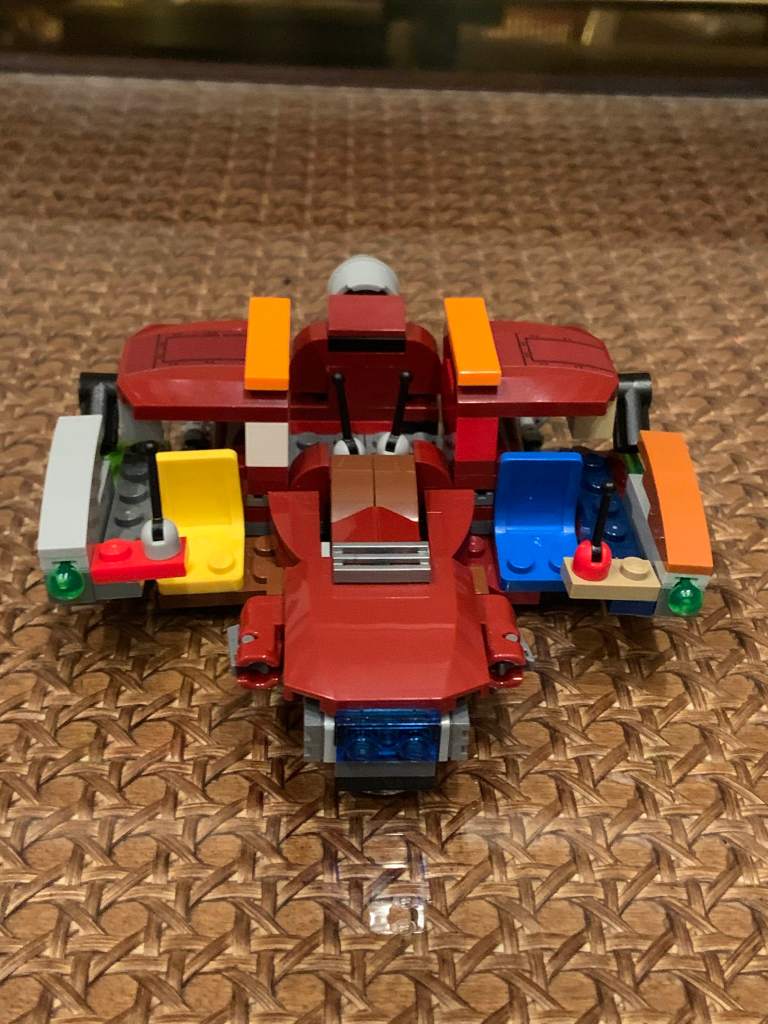
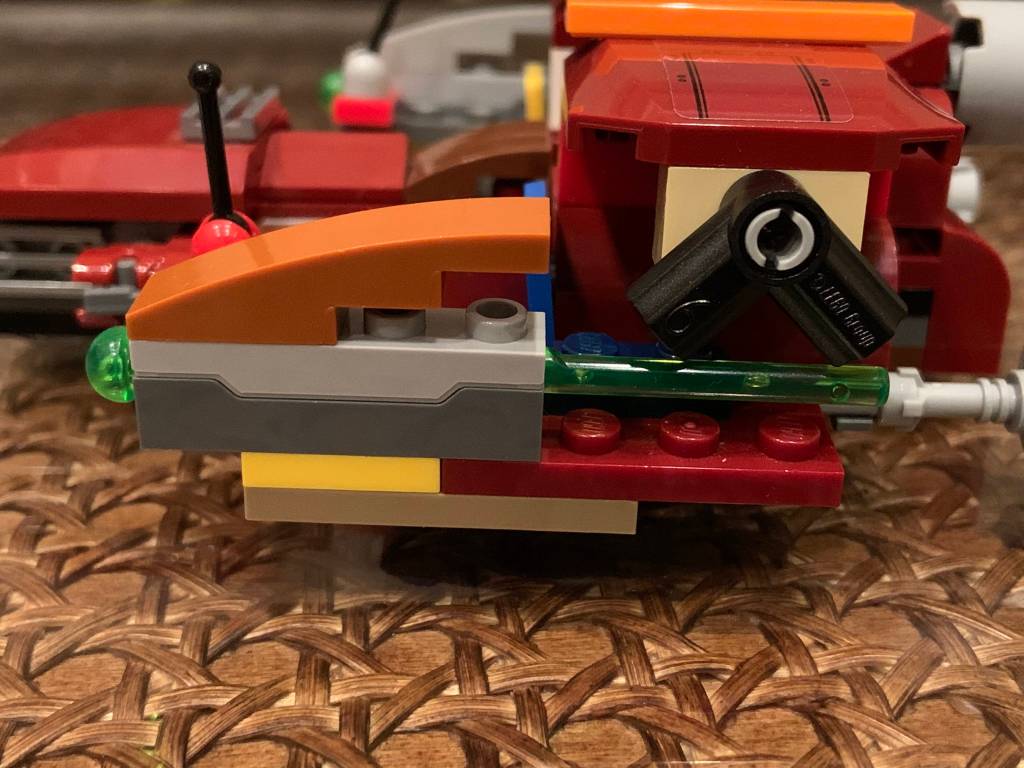
Hello everyone! I’m sorry for not posting recently. I have been making many other MOCs and working on LEGO stop-motions for my YouTube channel and also managing my school work. But now I will be posting more often because I have a lot of MOCs to post! So, now let’s talk about the MOC today. I wanted to make a cool looking speeder that has cool features so I made the Triple-Pod Combat Speeder. What’s cool about this MOC is that it is technically two MOCs I made. The base of this speeder is actually an alternate-build from the official LEGO set “Rey’s Speeder”. I did like the look of that speeder from the set but I thought I could do more from it. So with no instructions I made a MOC from this set and using those given pieces and those pieces only. Then I came up with two speeders and a gear rack. But the main speeder was the heart of this alternate-build-MOC. It was like a mini landspeeder but more sleeker and smoother. So that speeder is actually the base of the Triple-Pod Combat Speeder. Just a little bit of a backstory there. So using that I made two pods on the side of the speeder from other pieces I had in my LEGO collection. But those two pods are one of the most important components of the MOC because they hold the button-system-firing-missiles. I had to use a bit of engineering when I designed the system. Two button-levers can be pressed down lightly to fire the missiles. I prefer this easy system to the normal spring-loaded shooter-firing-mechanism that LEGO has because I find my system to be more simpler to fire and cooler. In the two pods there are two seats where a minifigure can sit. There are also controls where the two minifigures can act like they fire the missiles. In the main body of the speeder there is space for a minifigure to sit and control the speeder using the two controls. In the back of the whole speeder on each section there is an engine. So on the right pod there is one engine, and on the left there is one engine, and then on the body of the speeder there is one engine. On the sides of the main body of the speeder there is two stud shooters for extra play features. I really enjoyed this build because it has a really cool mechanism, and also it is really fun to even play with because of the amount of features.


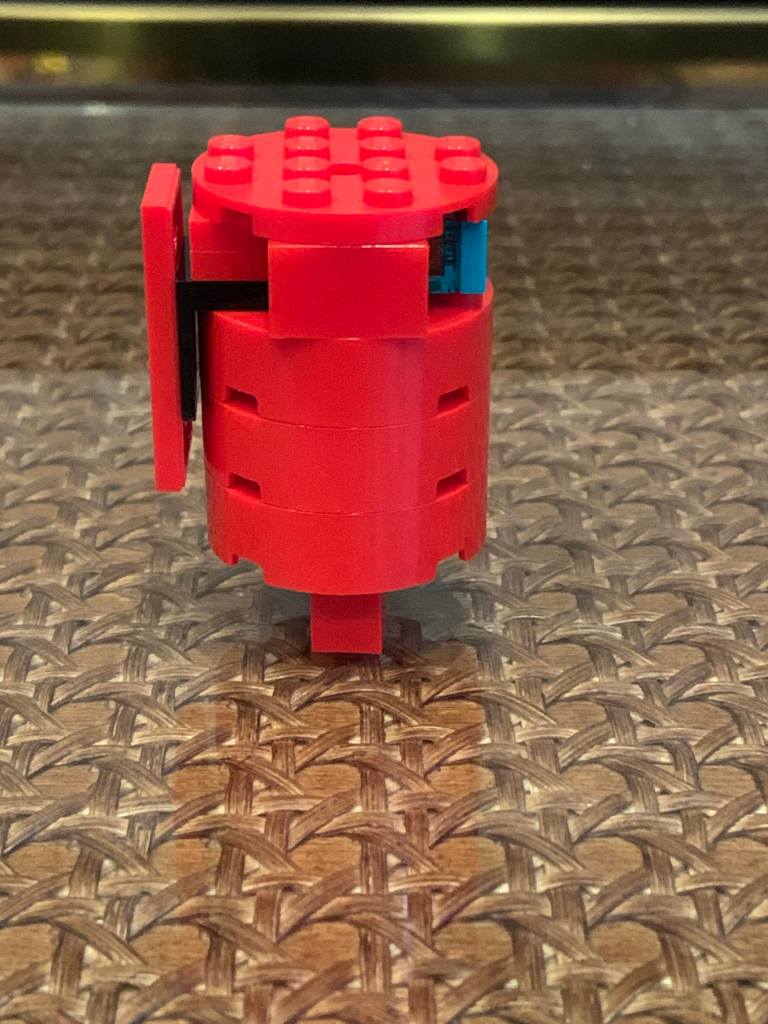
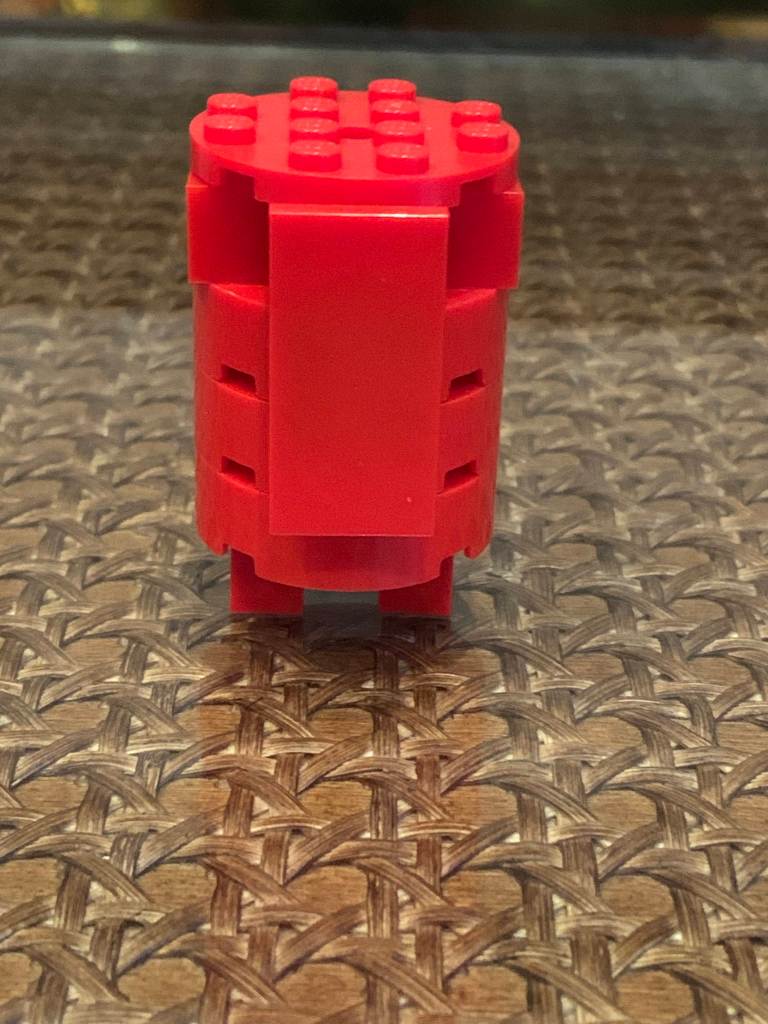
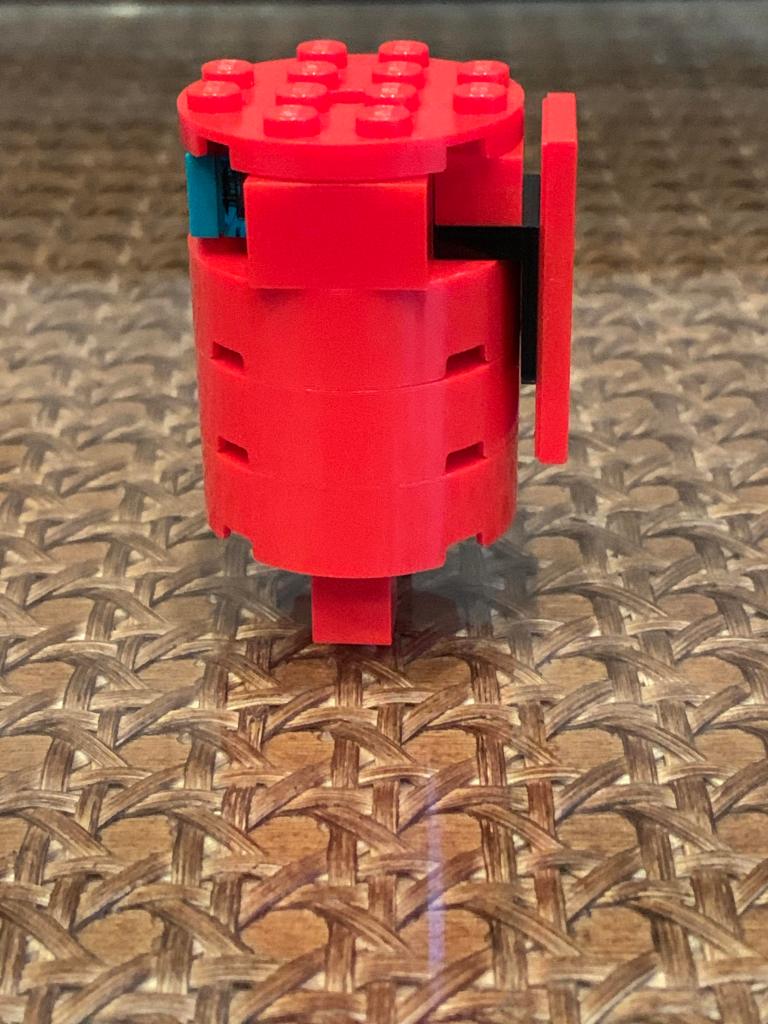
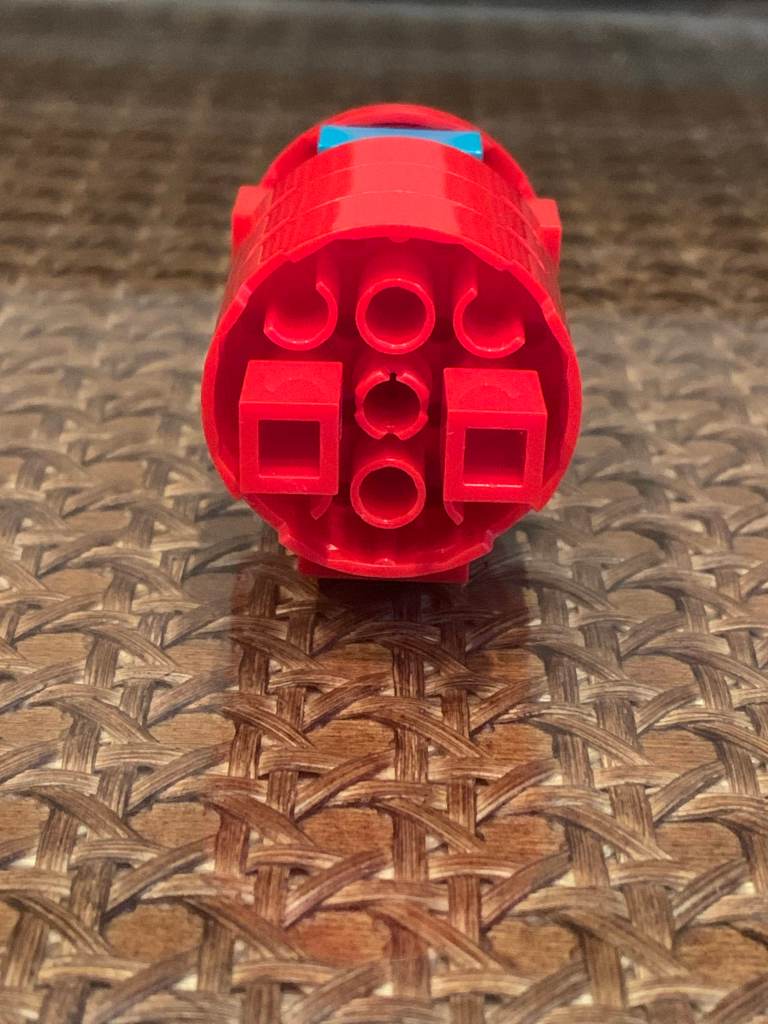
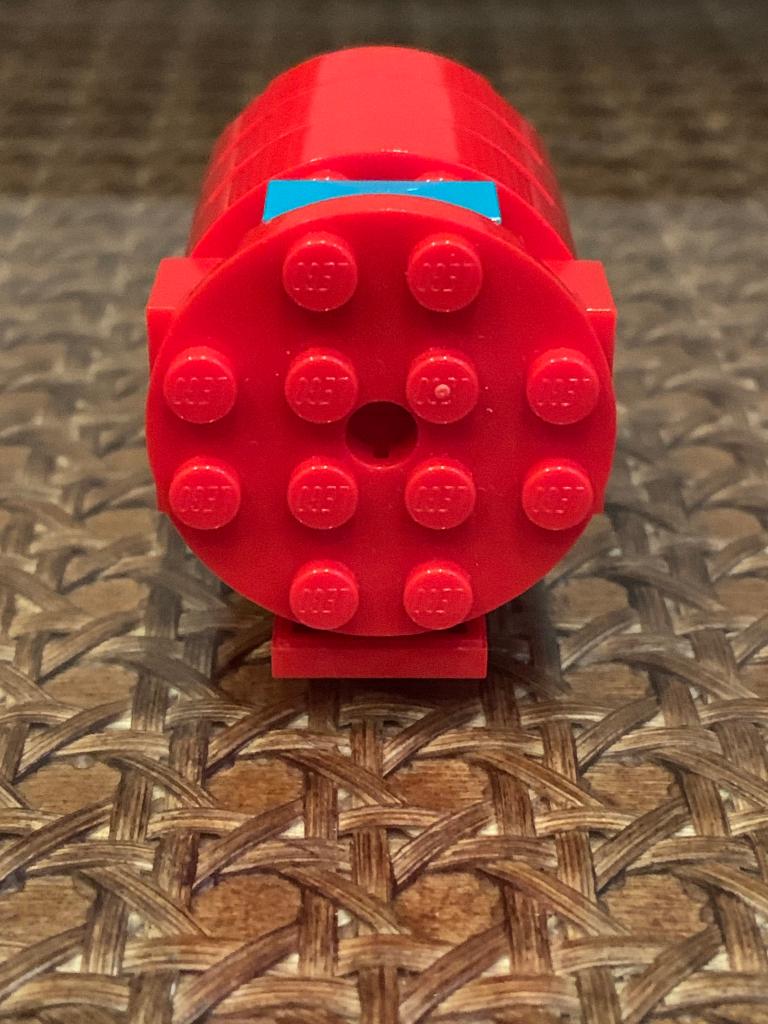
LEGO Among Us “Red” Figure MOC
This is a video game MOC! Everyone probably has played Among Us. Or at least heard of it. For some reason it has become super popular now and I play it so I thought, why not make a MOC on it? So I made the most iconic character in the game. The classic “red” astronaut. Yes, the one that is on the cover for the app, and the one that always says “SHHHH!” when a round is starting. This was an extremely easy build! I knew the pieces I had to use, all I had to do was find them in the right colors. So I did and when I finished it looked like the actual character! It was so simple but so cool. Now this MOC does not feature any moving parts but really it does not need to. Because in the game the characters don’t have hands (except for the imposter when he “takes you out!”) but just have legs that walk. But if I added movable legs, I would have to make the character bigger. That would mess up the scaling. It features two red legs that are perfectly in-scale with the body, they allow the figure to be able to stand up on any surface, a head that is red with a red flat top and a turquoise visor piece where “red” can see, and finally a fully red body. So there you have it, probably the easiest MOC (been making a lot of easy ones these days) that I am sure anyone can make!
https://www.youtube.com/channel/UCnDsZAzEjljyKeXmQzARPZA – The link to my YouTube channel

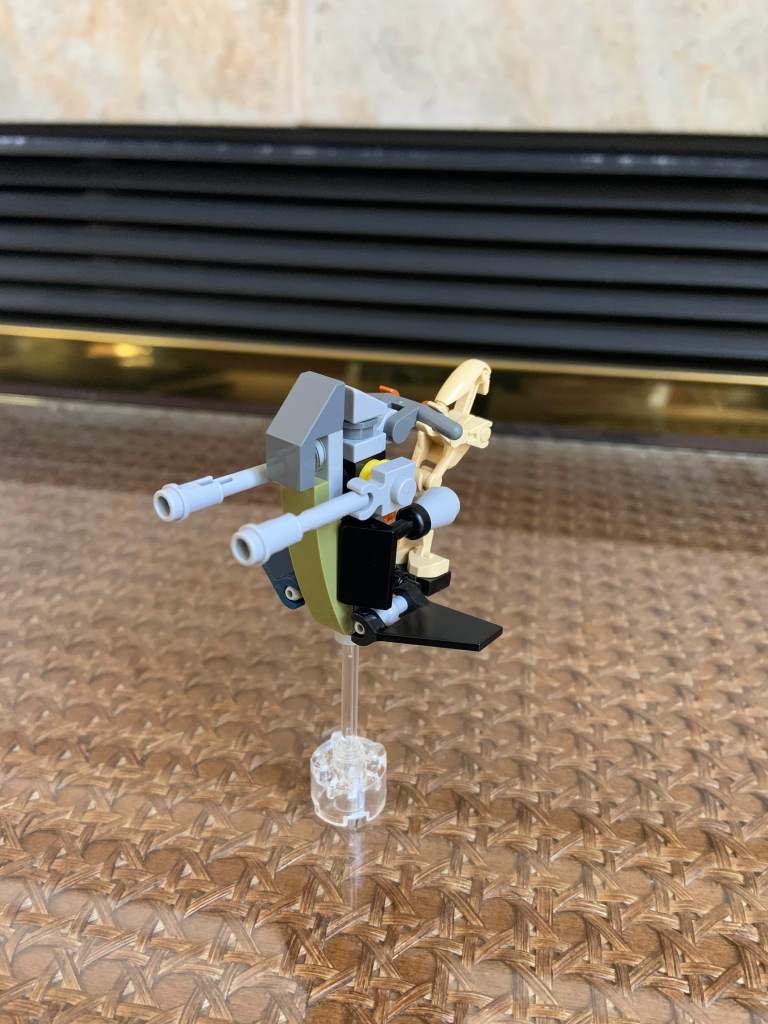
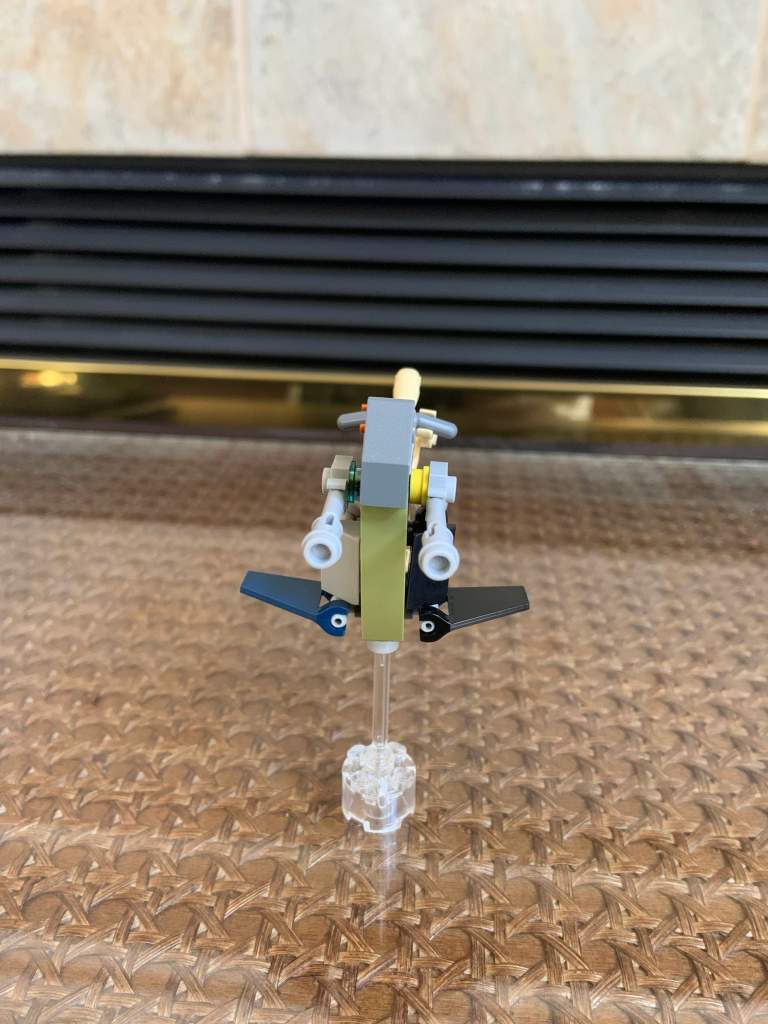
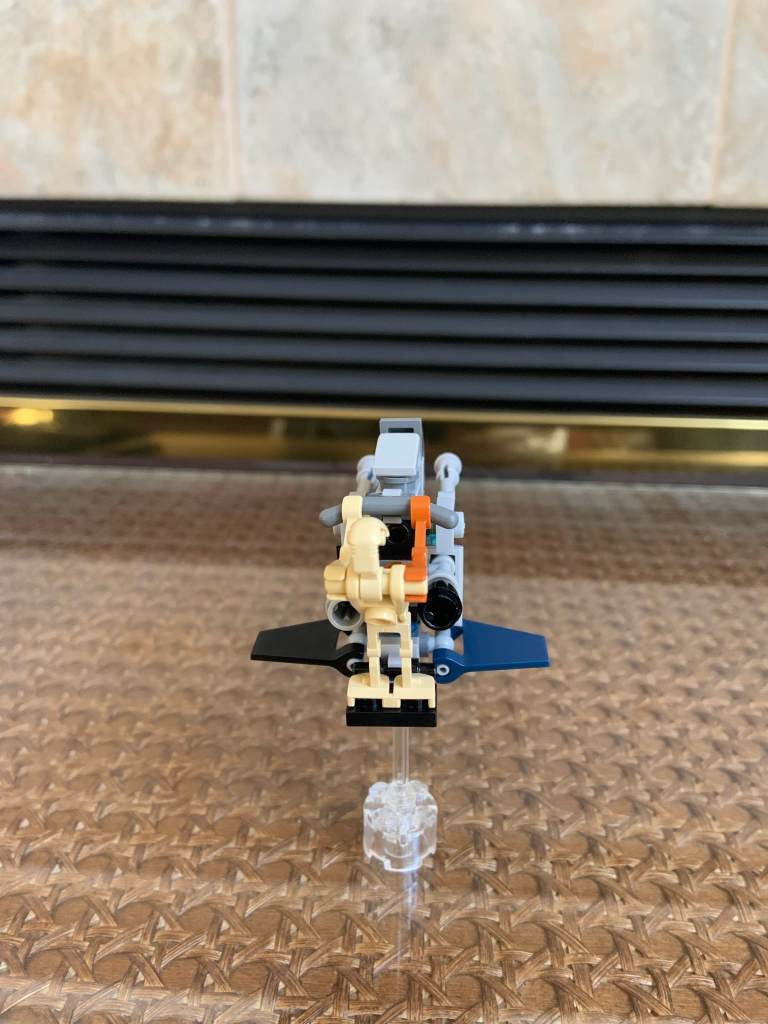
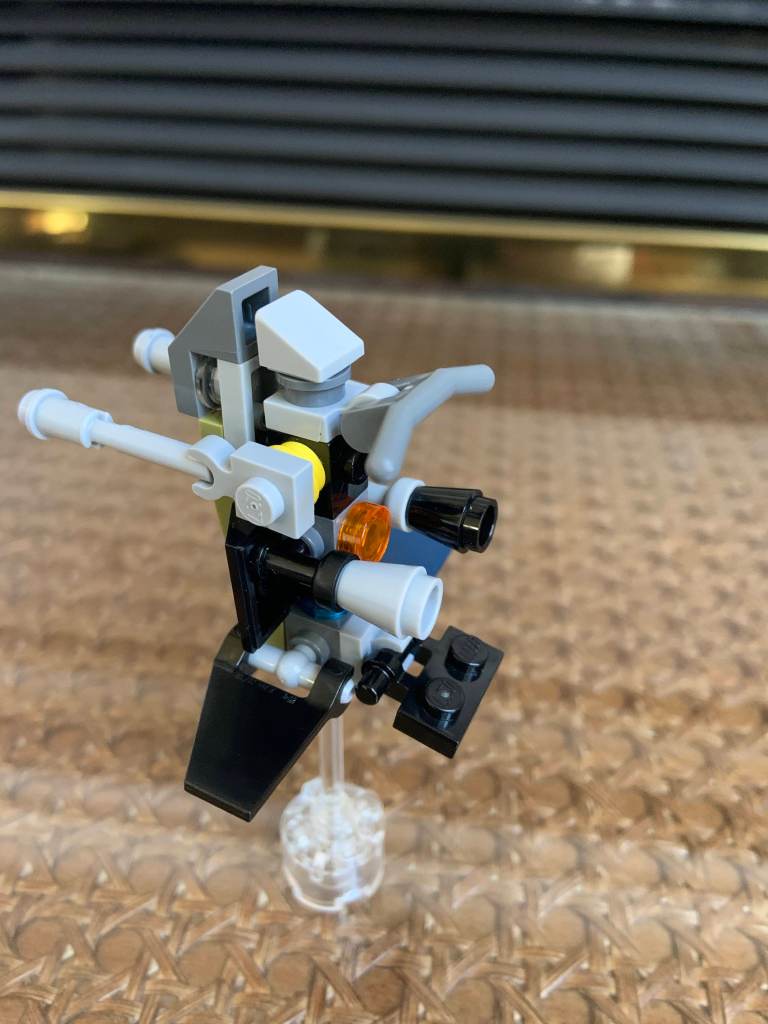
LEGO Star Wars Droid STAP MOC
This is one of the simplest LEGO Star Wars MOCS ever (in my opinion, could be the GONK droid too). But I thought the droid STAP looked cool, like a stand-up speeder. So I decided to make one. With very simple LEGO pieces I made my own droid STAP in under 5 minutes. It features an adjustable stand protruding from the speeder where a minifigure or battle droid can stand on, on the top are handles which a minifigure or battle droid can clip their hands on so the speeder looks like it is being piloted, a smooth overall look, complete with two side engines and flaps. Finally on the top is a smooth look and two laser cannons. This build was very short and since it was so small and easy to build I might work on a tutorial video on this in my YouTube channel!
https://www.youtube.com/channel/UCnDsZAzEjljyKeXmQzARPZA : the link to my channel! Please subscribe!


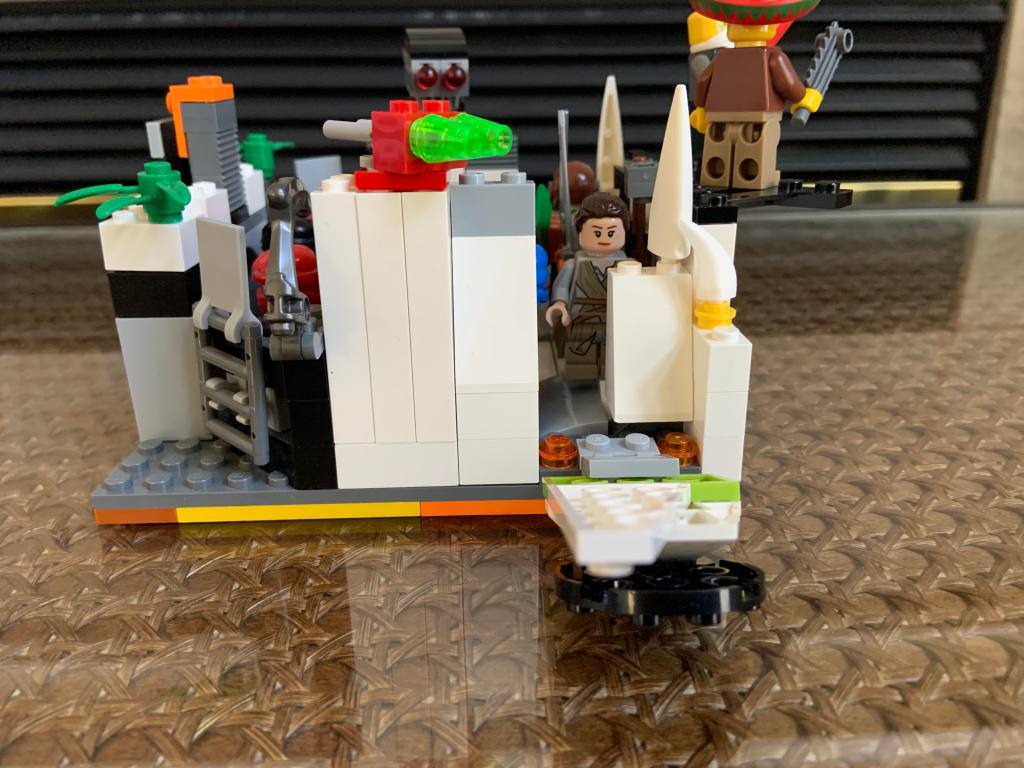
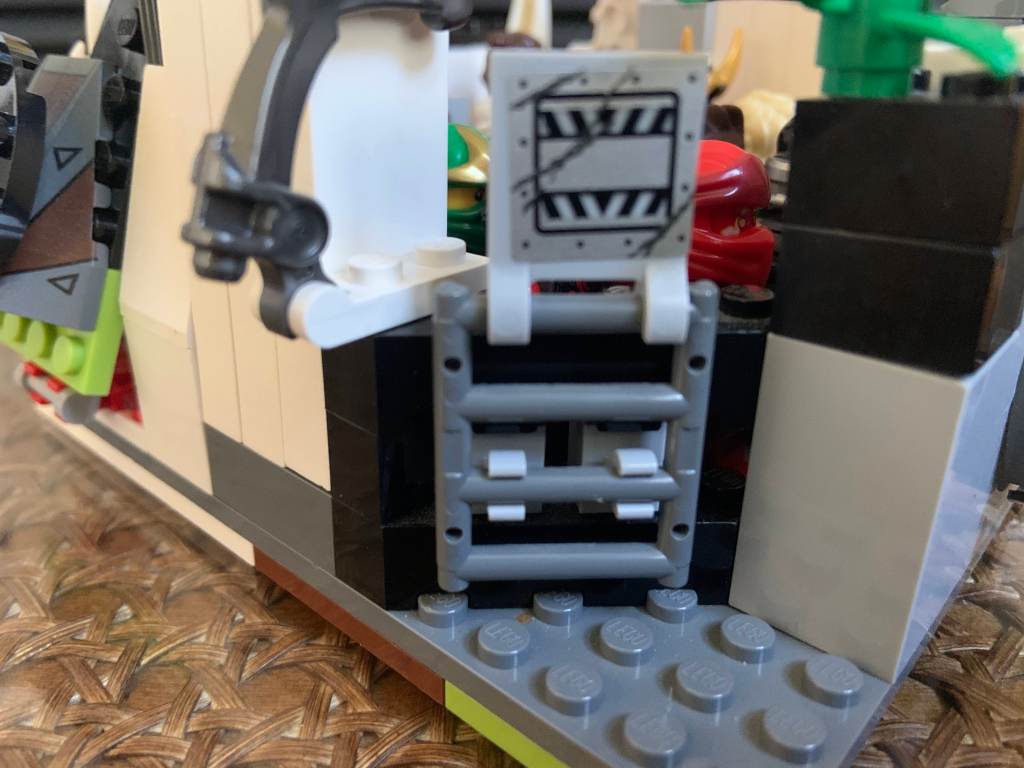
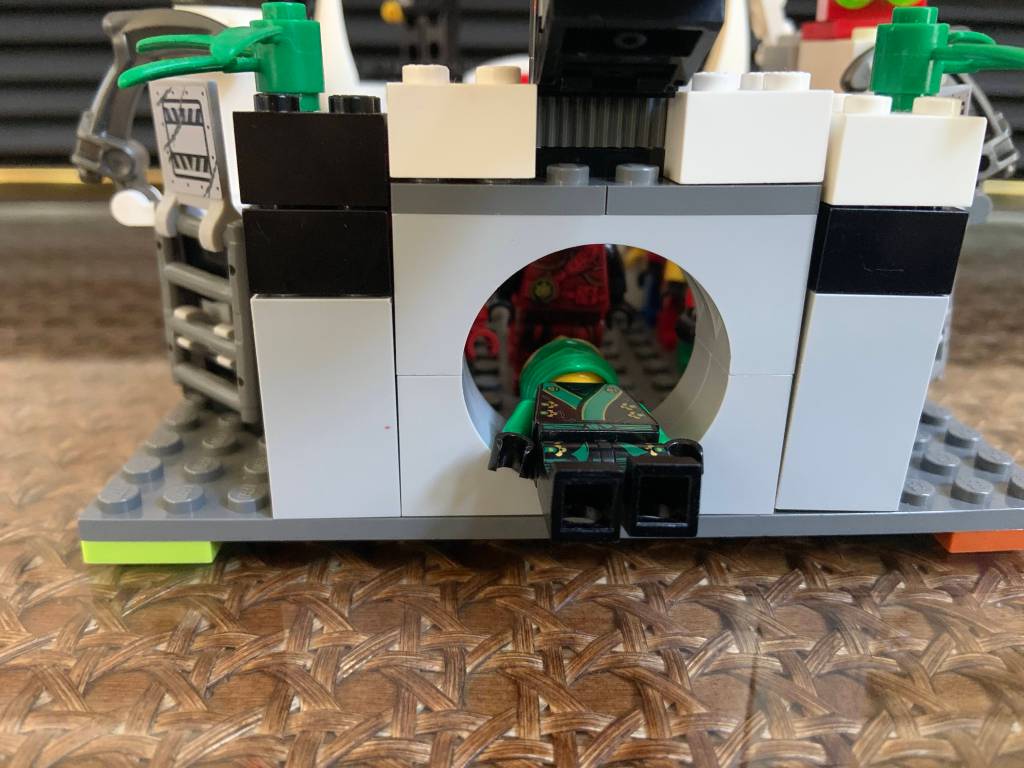
LEGO Ninjago “Defense at the Monastery” MOC
Hello everyone! I have not posted in a long time and that is because I was busy starting my YouTube channel! In my channel I will be posting all my LEGO MOCs, LEGO tutorials, video game gameplay, and stop-motions. So please visit my channel and subscribe! I will put the link at the end of the review of this MOC.
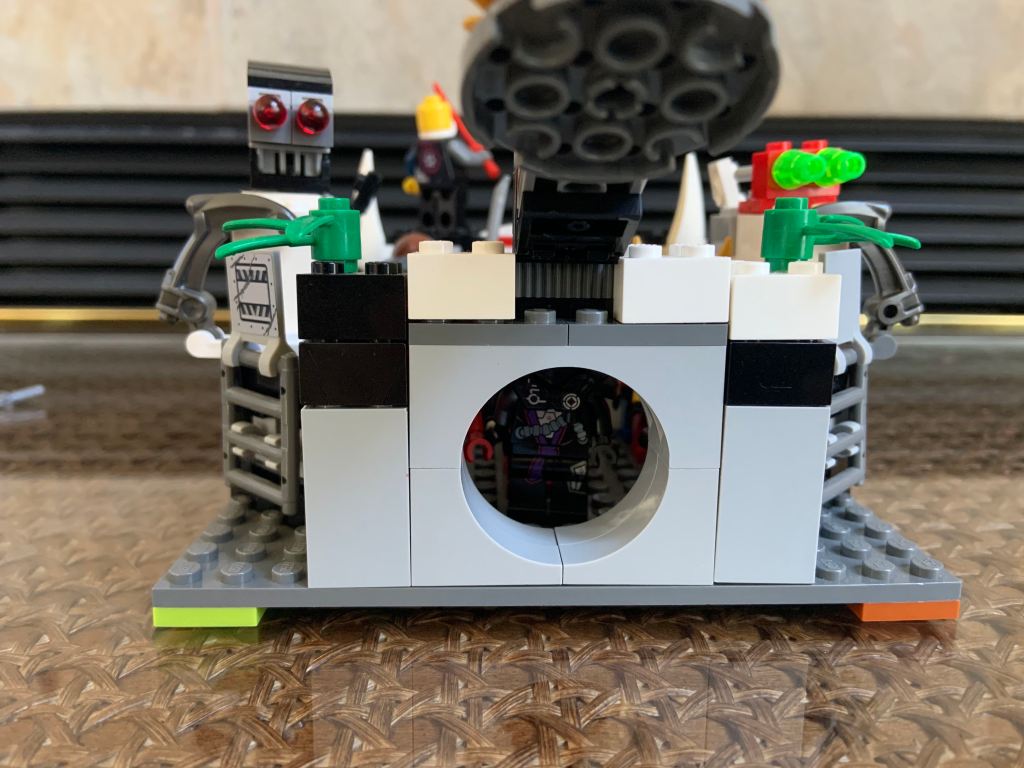
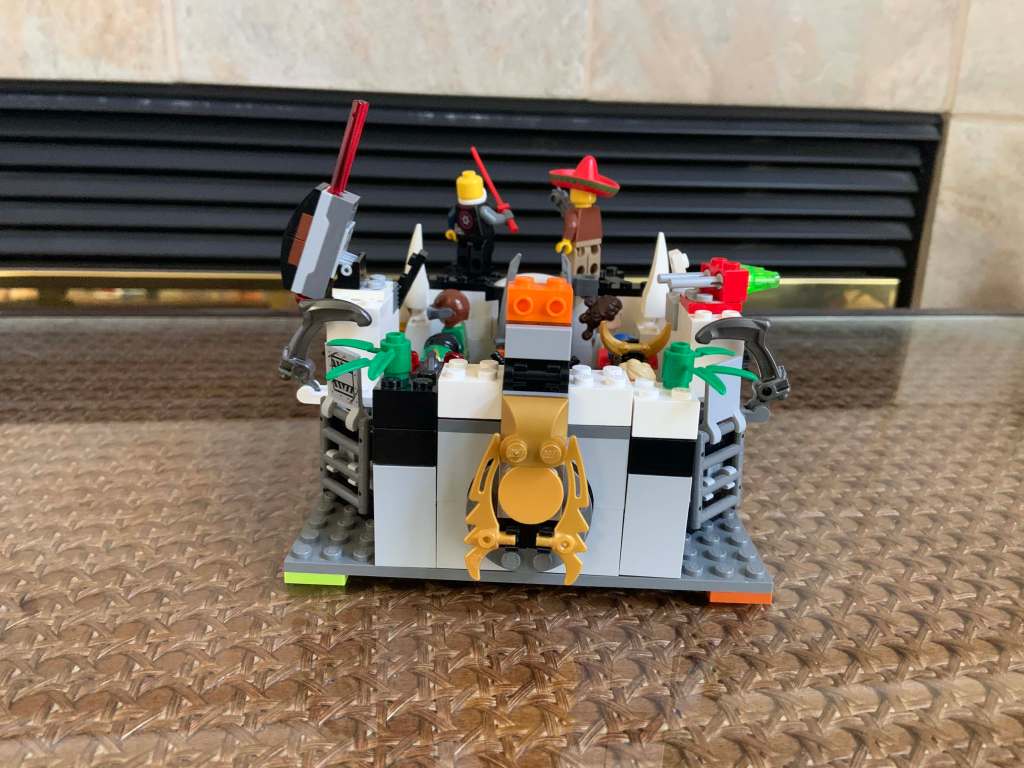
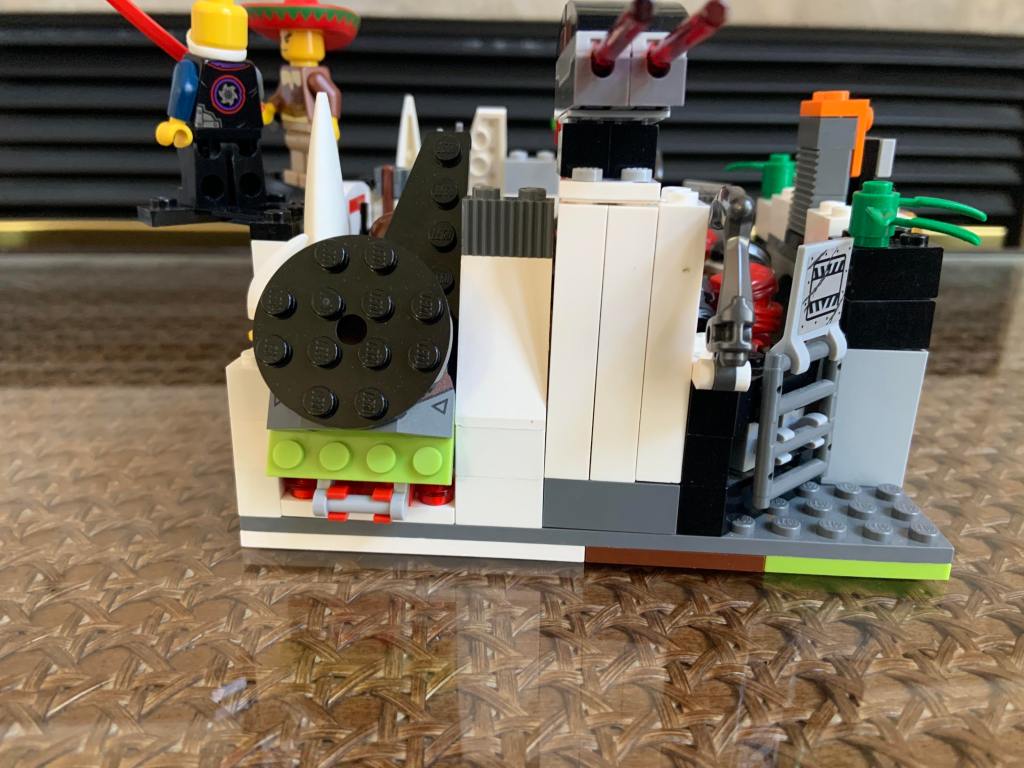
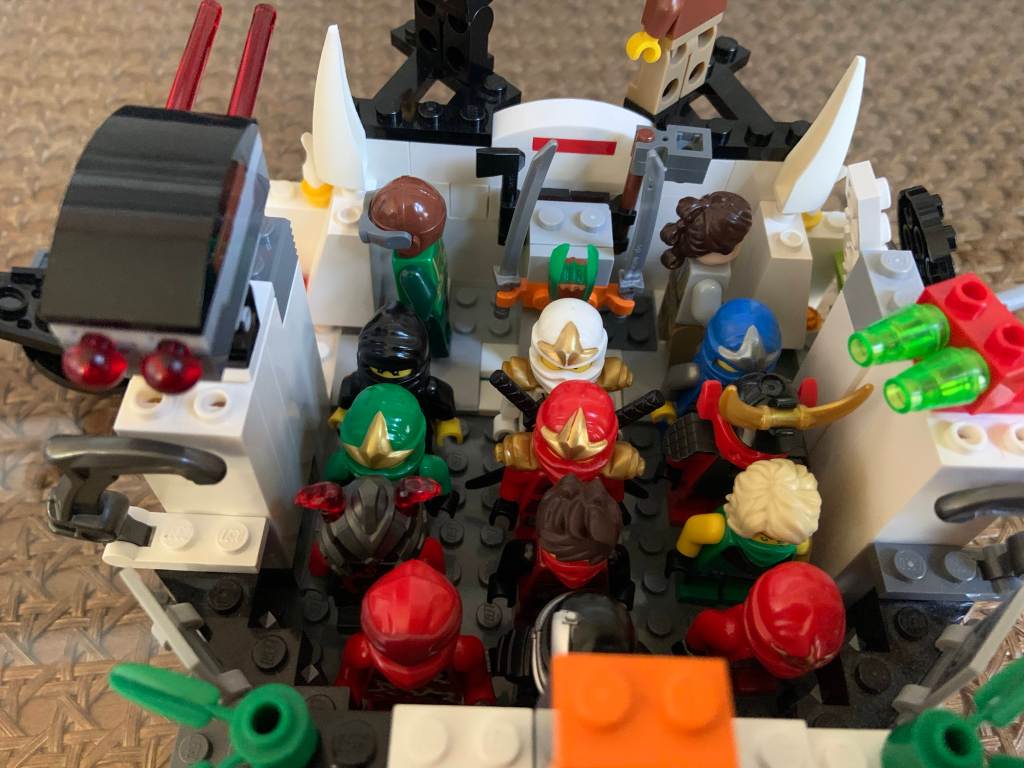
I built a LEGO Ninjago MOC of the monastery that appears in season 1 and 10 of Ninjago. Btw I don’t have the actual set. Originally it was just supposed to be the monastery with a lot of moving parts that were featured in the training equipment like in the TV show. But the whole monastery was really small because I couldn’t find a good scaled LEGO baseplate. So everything was cramped and the playing features were hard to activate due to the size. Then I destroyed it and made it into “Defense at the Monastery” that is what I am calling it. Basically I took out all the training equipment and put firing weapons and spikes! Because in the TV show the Monastery never had a defense mode so I thought it would be cool to create that. I thought that if it was be an actual set I would put villains there attacking the monastery because it would be fun to use all the weapon features against them.
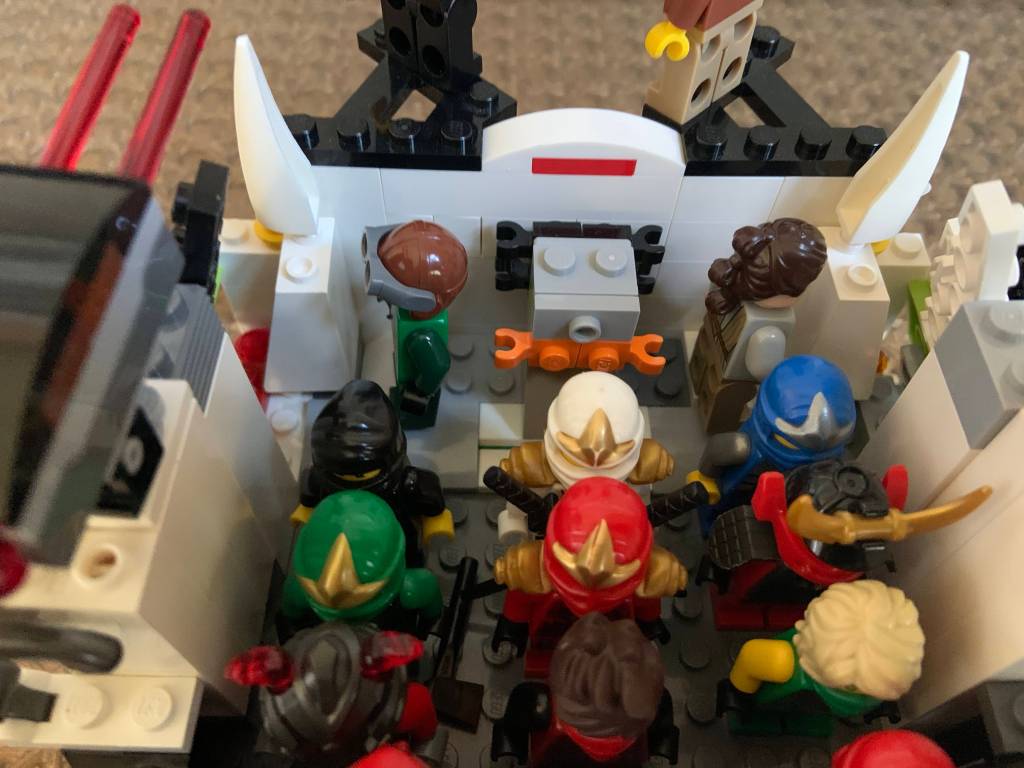
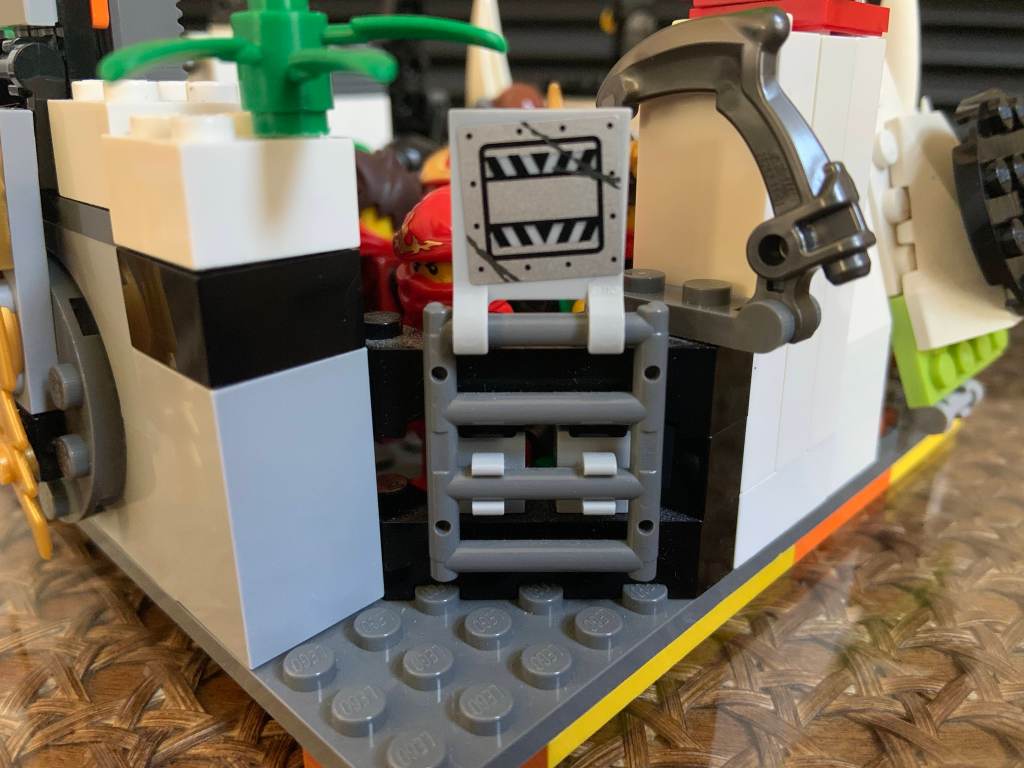
It features a cool opening circular door with gold swords on it. It opens up to reveal a circular entrance. Inside the monastery there is so much room! It can fit 8 minifigures. On the sides are swiveling two-shot cannons. one cannon has two flick-fire cannons that swivel around and the other one has a two spring-loaded shooters that swivel around and move up and down. On the sides of the Monastery it has a very sleek cool look and the two last section of the walls on either side open up like bay doors for the ninjas to go out in secret instead of the main entrance where all the villains are. In the center of the monastery there is a weapon rack with two swords that can be clipped on and clipped off the weapon rack, and there is one axe and one hammer that also can be clipped on and clipped off. then in the center of the weapon rack there is a special hand blade (in the show it is called the “time blade”) that can be taken on and off the rack. Finally in the back there is two “V” shaped hangings overhead like sentry places for the ninjas to watch if there are any enemies coming from behind. There are also spikes so if a villain tries climbing the back walls they will meet the giant spikes! This was an awesome build because it has so many play features! It’s like a cool ninja house!
As promised above, here is the link to my YouTube channel. Please subscribe!


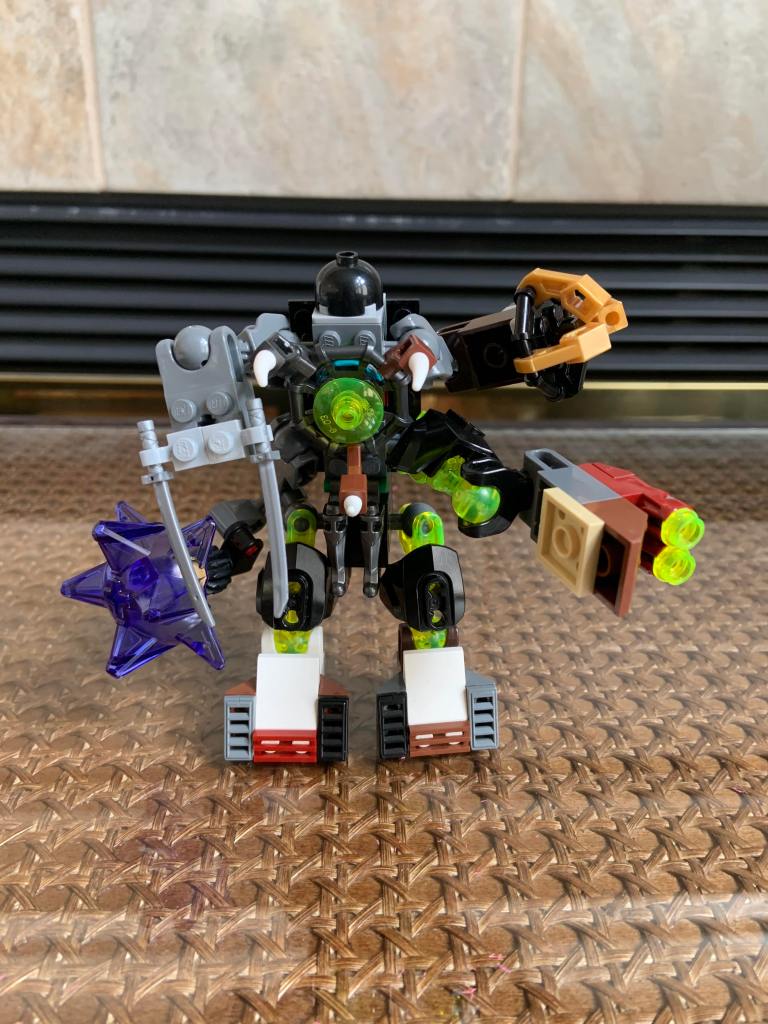
LEGO Preeminent MOC
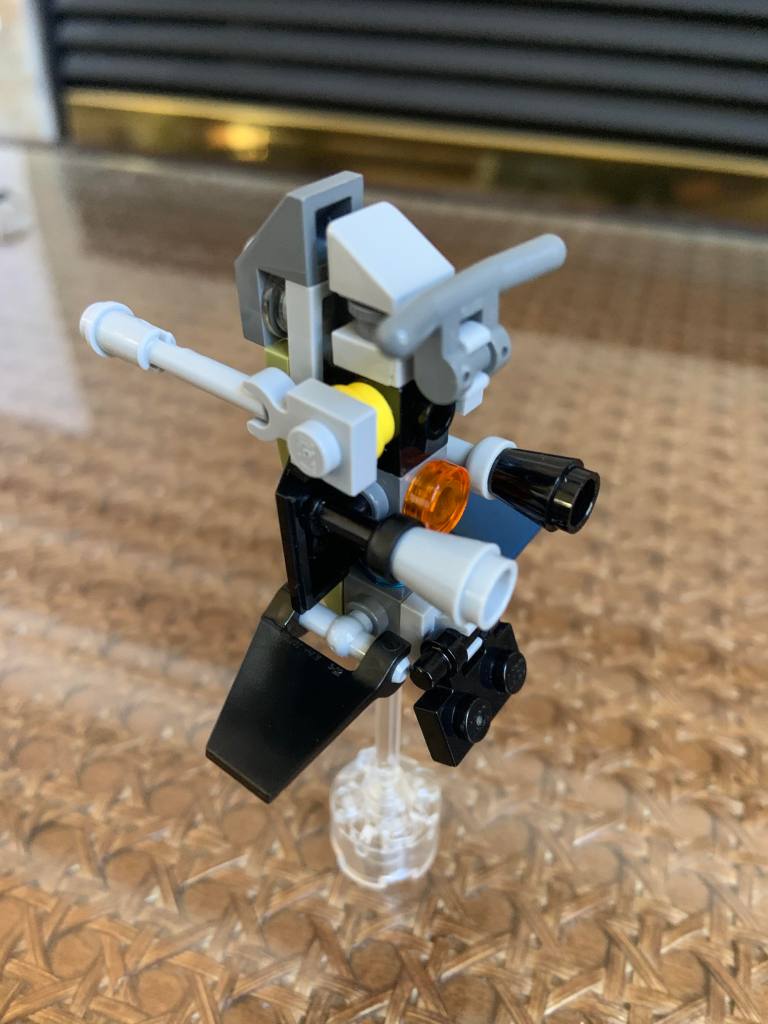
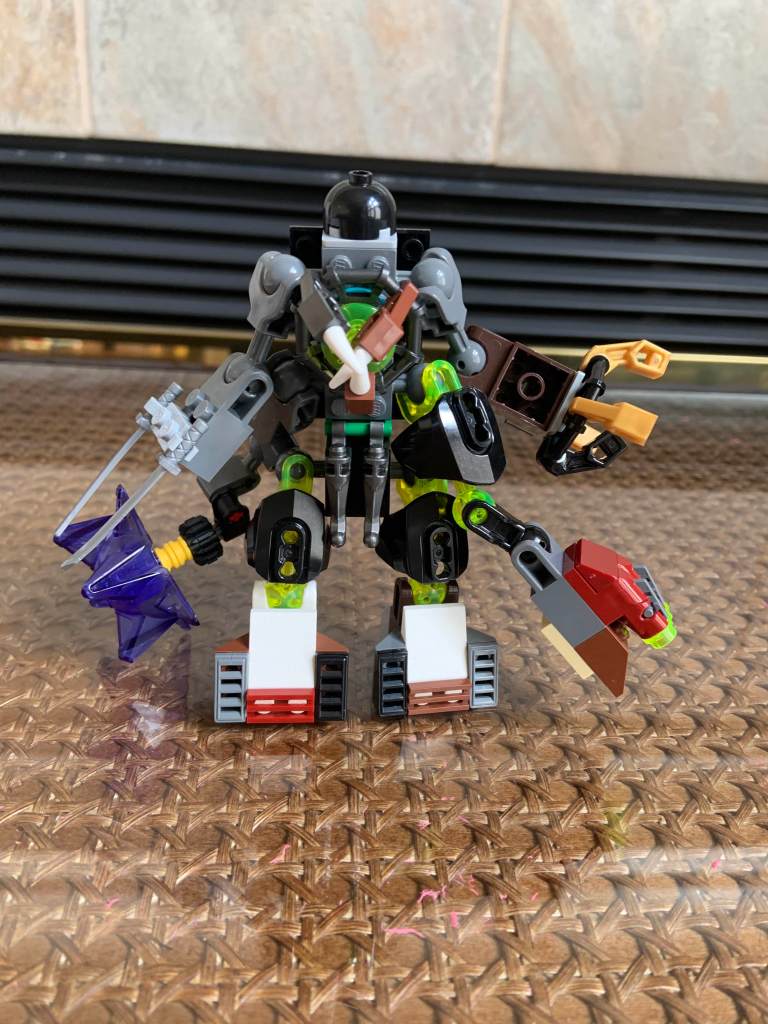
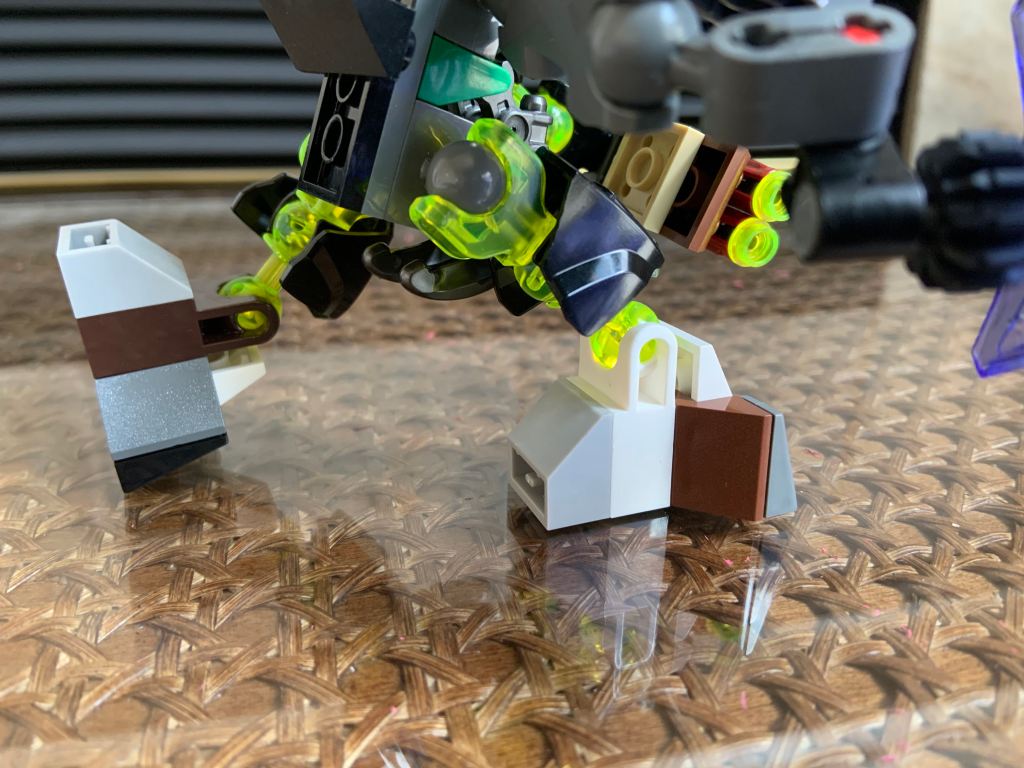
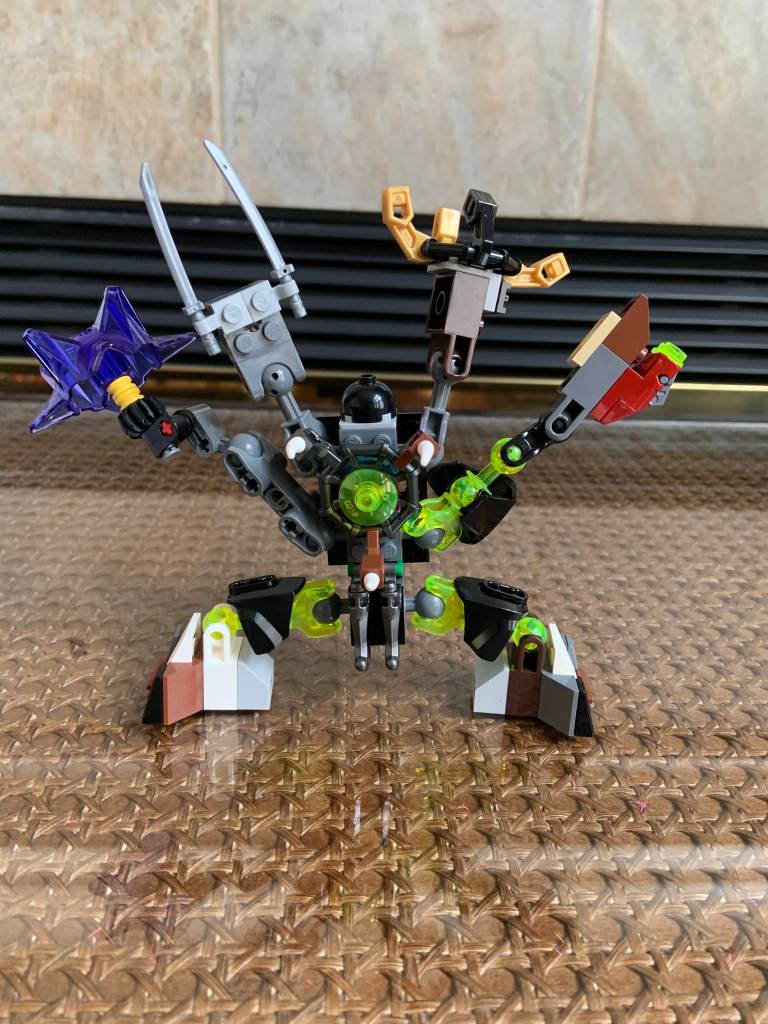
This is a LEGO Ninjago MOC! I have never attempted to make a LEGO MOC with four arms before! The Preeminent appears in season 5 of LEGO Ninjago. The Preeminent is the living embodiment of the “Cursed World” in Ninjago. It is a massive beast with thousands of tentacles! Later in the episode it appears on, the many ghosts adding to the ghost army comes from the Preeminent’s mouth. It can only be taken down by waters so in the episode the ghosts build armor from various buildings for the Preeminent so it has protection. There is no actual LEGO set for it so I made it. It features 4 arms each with 3 points of articulation, on one arm there is a massive spiked wrecking ball that spins, on another arm there is two sharp swords, then on another there is a grabber claw that opens and closes, and finally on the last arm there is two stud shooters that are supposed to be ghost arrows. It has one huge mouth which is green, that is supposed to resemble the place where the ghosts come out of, on the sides of the mouth are three claws that can close in and out. Finally it has two legs that have 3 points of articulation. Overall it has a very reinforced look like in the TV show. I really like this MOC because I have not made a MOC from Ninjago that was never actually made into an official set.


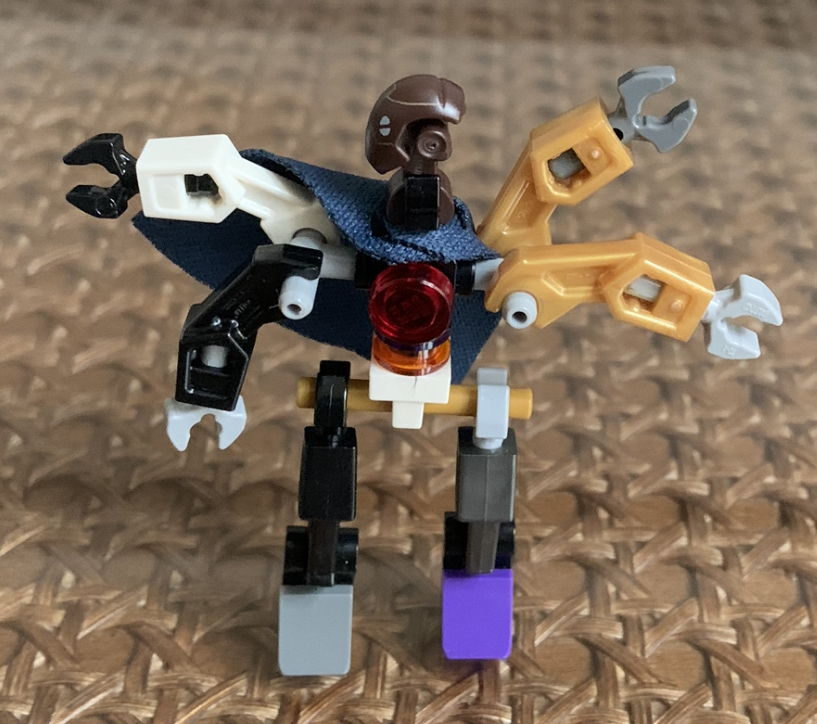
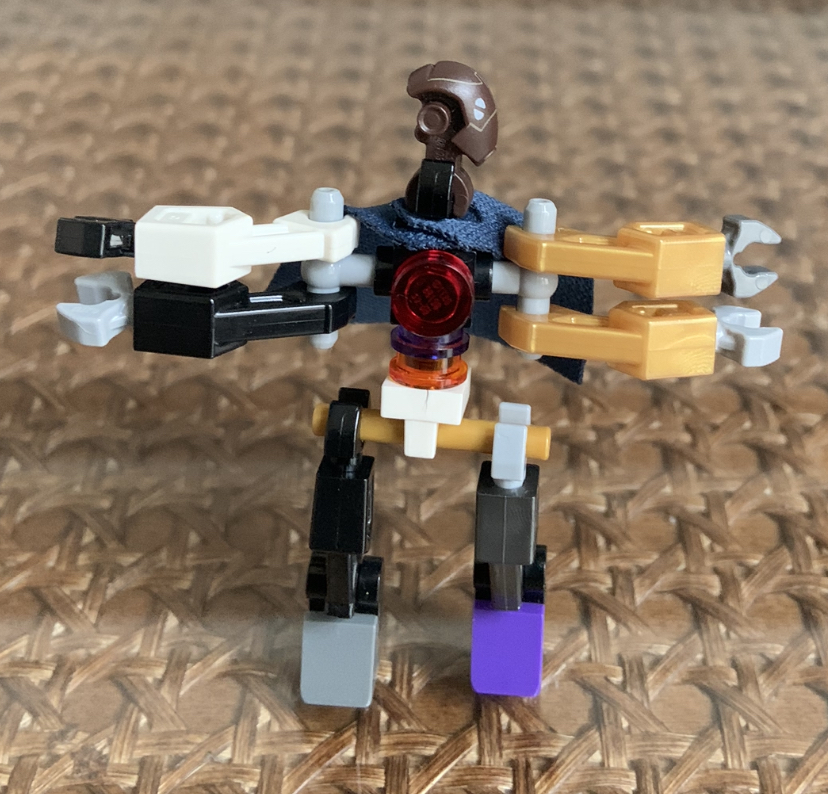
LEGO MOC Brick-Built Action Figure
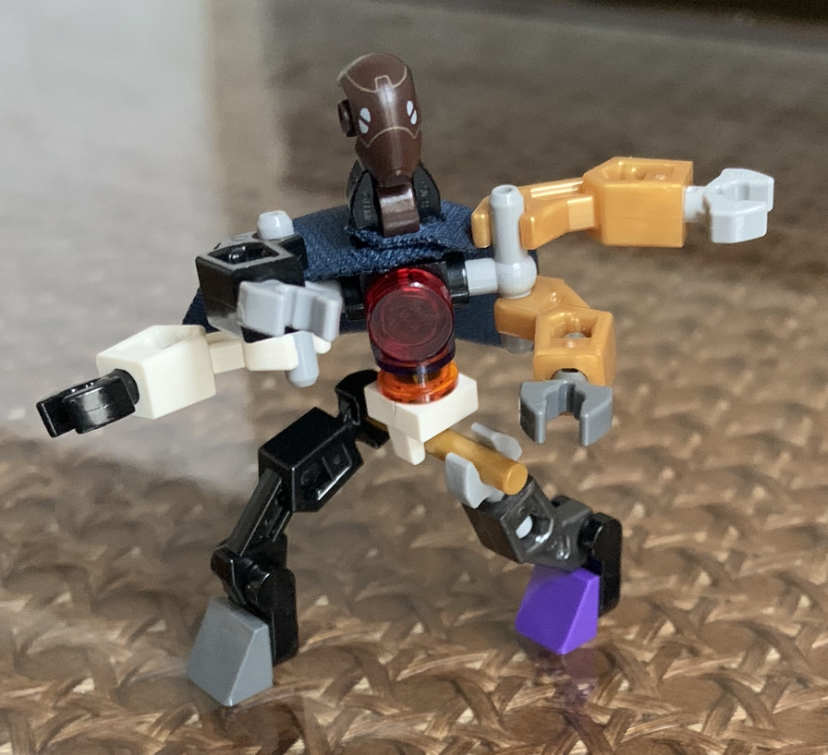
I made a LEGO Action Figure! LEGO has minifigures in each set that don’t have many movable parts. They do have some buildable figures that feature ball joints allowing it to be highly posable but they are huge! So I wanted to make a highly posable figure that is also in scale of the classic minifigure! I had two goals in mind 1. Make a highly posable in-scale LEGO action figure, 2. Try to make it a General Grievous action figure! ( I attempted that because I lost my minifigure of him) In the end I managed to only meet one of those goals (the highly posable in-scale LEGO action figure) It features 4 arms with claws at the end so it can hold something (4 for General Grievous) the arms can move side to side and the claws can move 360 degrees, the arms are attached to a piece which can move 360 degrees thus moving the arms in different positions, the head which is a droid head can move 360 degrees, the waist can move 360 degrees around, the legs can move up and down and the feet an too. They move side to side because of the waist. Finally I added a cape in the back. The whole figure can stand in many different positions. I think this is such an awesome build because now I have a highly posable action figure that I can play with and use in my stop-motion movies!


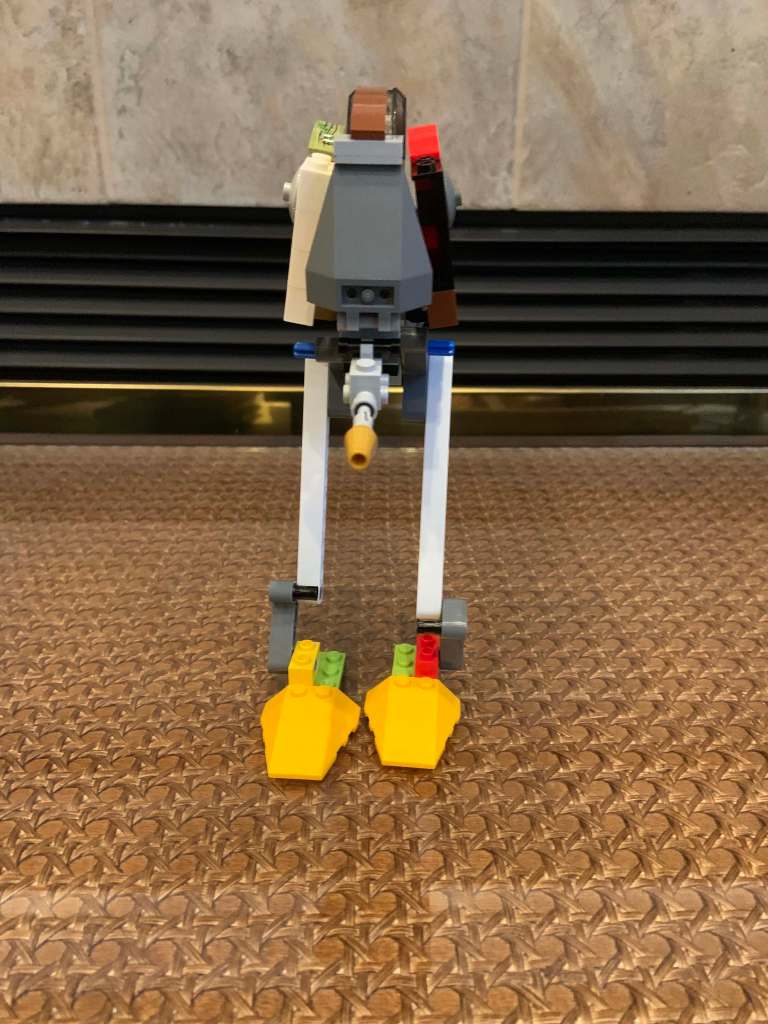
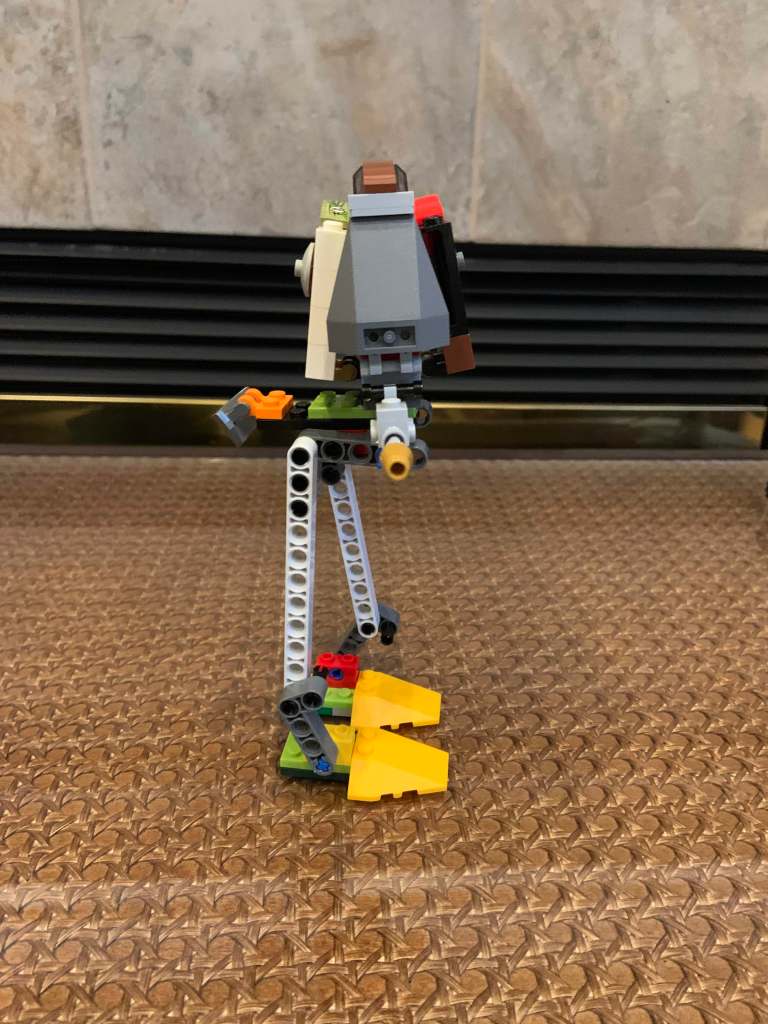
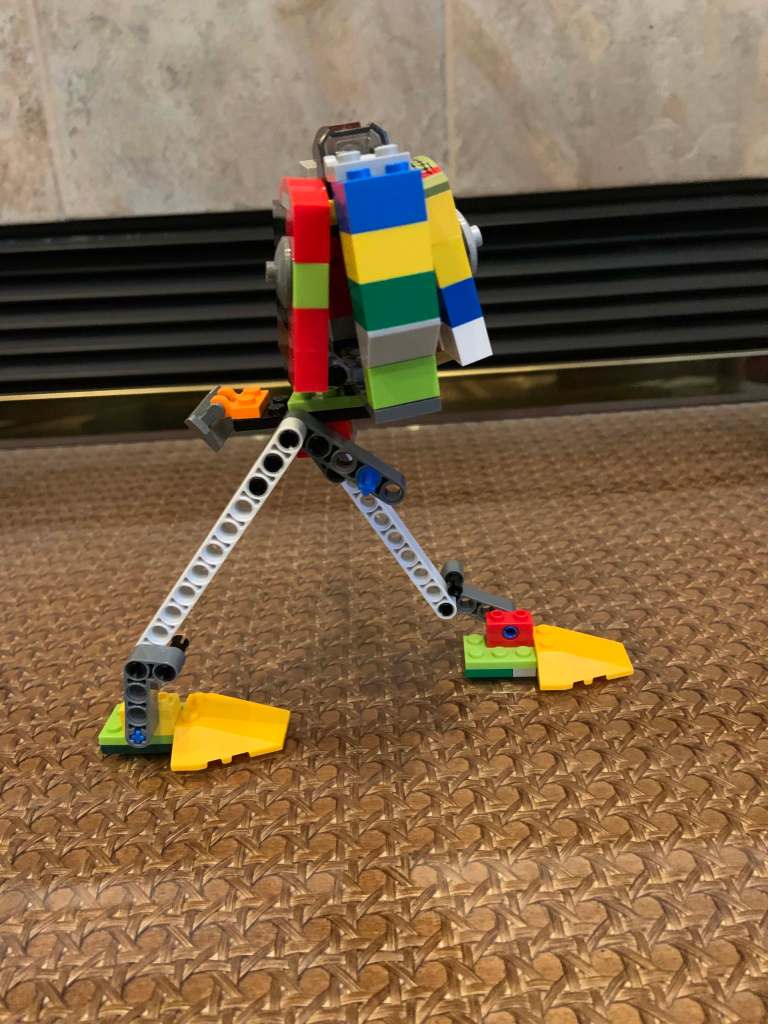
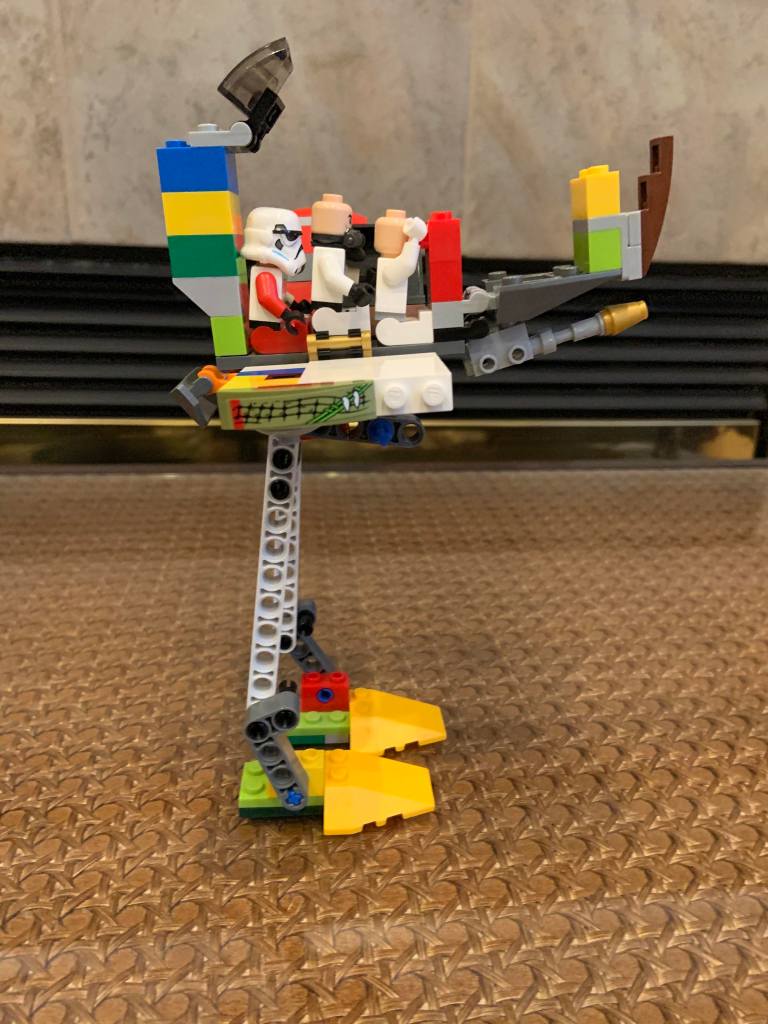
LEGO AT-DP MOC
LEGO Star Wars MOC! The AT-DP or All Terrain Defense Pod was used by the Empire in Star Wars. It is equipped with one laser cannon in the front. I don’t have this LEGO set so I made my own. It features two legs that can move in 3 different ways, a cockpit that can hold 3 LEGO minifigures, the 1 laser cannon in the front that can move up and down, a swiveling head, the armor plating looks exactly like it should, and both sides of the armor plating and the front open up to reveal the interior. This build was actually fairly easy. I initially thought it would be harder!